My current darkroom is a utility room. I have to share space with the washing machine and dryer. It is small but I have a sink and enough room for my Meopta 6 enlarger a sink and my 12x16 trays which I use for 16x20 prints easily.
I bought a small 8x10 paper safe a number of years ago. It has a spring loaded door but I don’t like it too much. If I am not careful the door can get stuck open. This means the paper safe can actually ruin a whole stack of paper.
When I am working with larger paper it is a real hassle to open the box and bag for each sheet being careful to put it all back again. So I decided I needed a larger paper safe and in order to accommodate the larger paper. I decided it should be vertical and hung from the wall so it doesn't take up precious counter space. I wanted it to accommodate 16x20” paper and have 3 dividers so I could segregate paper types and sizes if I needed to. It had to be light tight of course.
I opted for a plywood and MDF construction. The end and top and bottom are 18mm plywood which I rabbeted so the top and bottom fit tightly. The large sides are 12mm MDF that fit the rabbeted edges of the plywood pieces. The rabbets are key to making the joints light-tight as the light has to move around the corners. For my case the joints are close enough fitting that they don’t need any sealant. The are just screwed together tightly.
The door is fitted in one end. It too is rabbeted around the edge to make it light tight. Rather than use a hinge and conventional latch I tried something different. I have some elastic cord loops from another project. At the top of the door I fixed both ends of the cord one to the box and the other to top of the door. For the bottom I used another piece of cord attached to the box on one end the other fits into a slot cut in the door to secure it. By pulling on the cord it could be released an the door opened. Pulling the cord into the slot secures the door and makes sure it is clamped tight.
I placed some note paper on the front for notes as to what is inside.
Once mounted on the wall it works well. The paper is loaded and unloaded easily and is always at hand.
 |
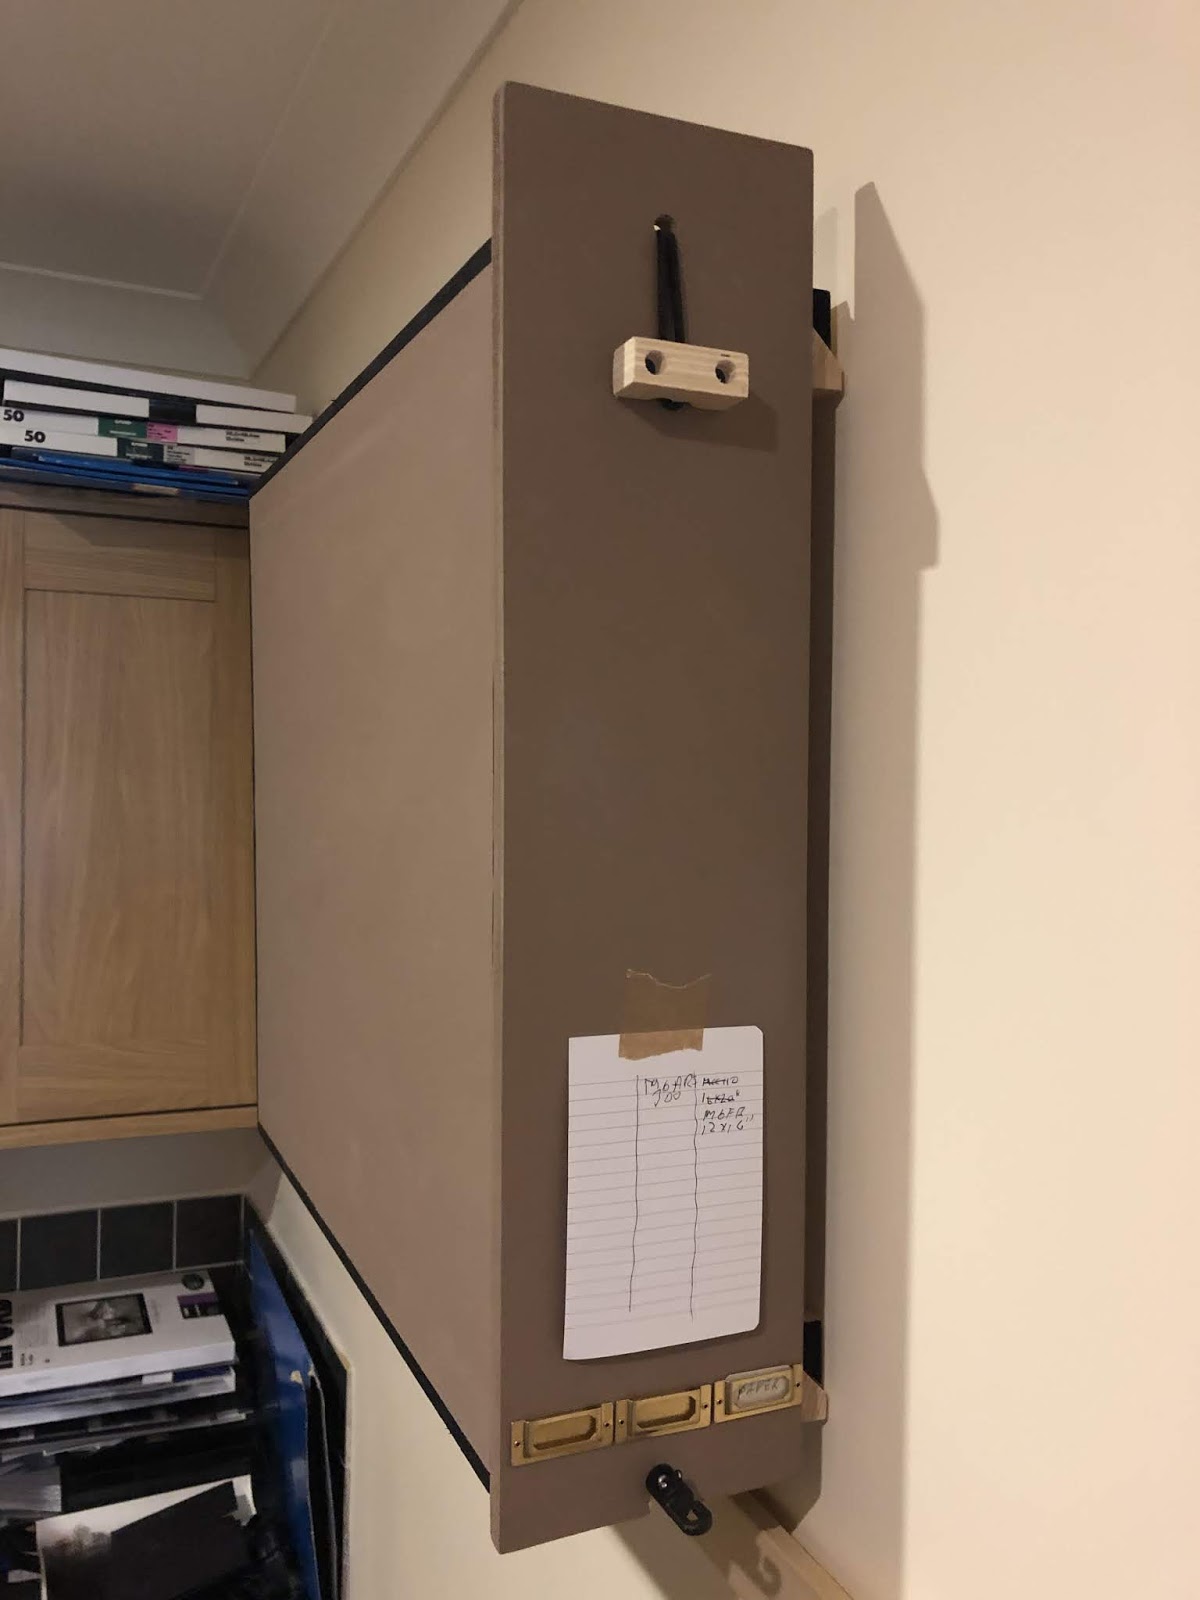
| The paper-safe mounted on the wall. |
 |
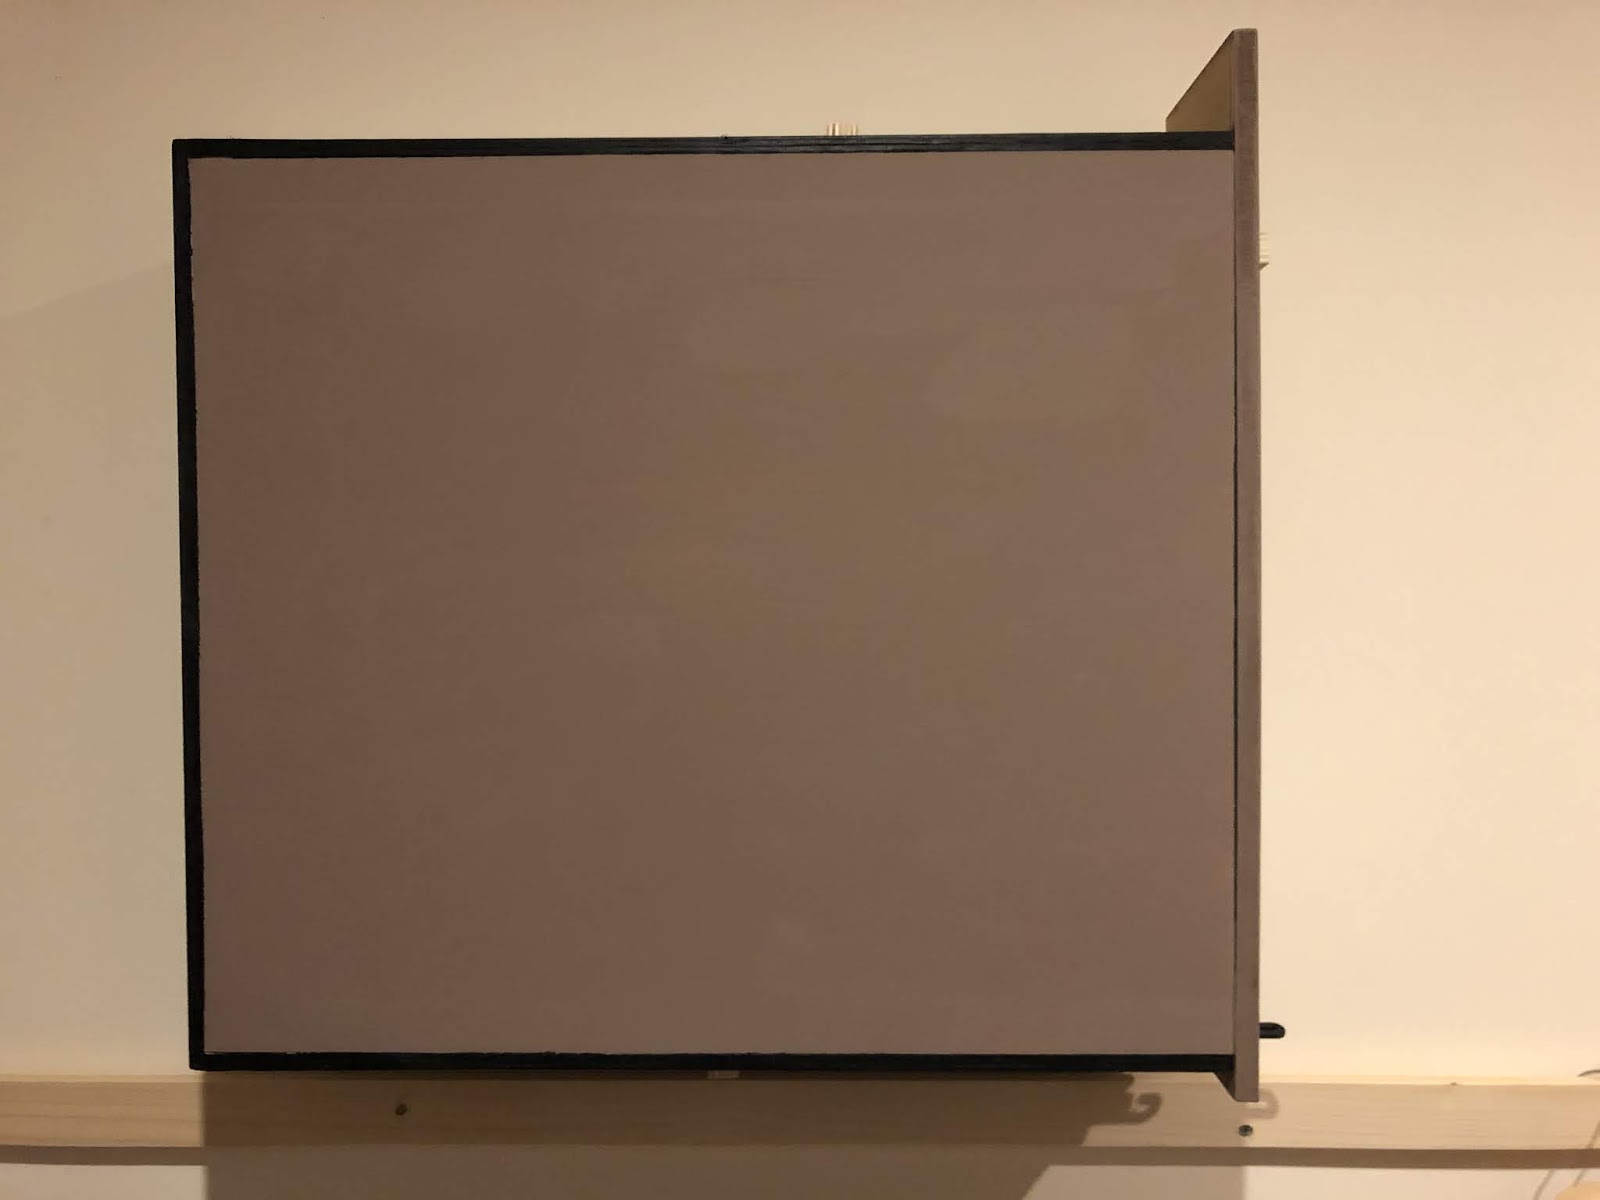
| Front view of the door of the paper safe. |
 |
| The elastic hinge at the top of safe door. |
 |
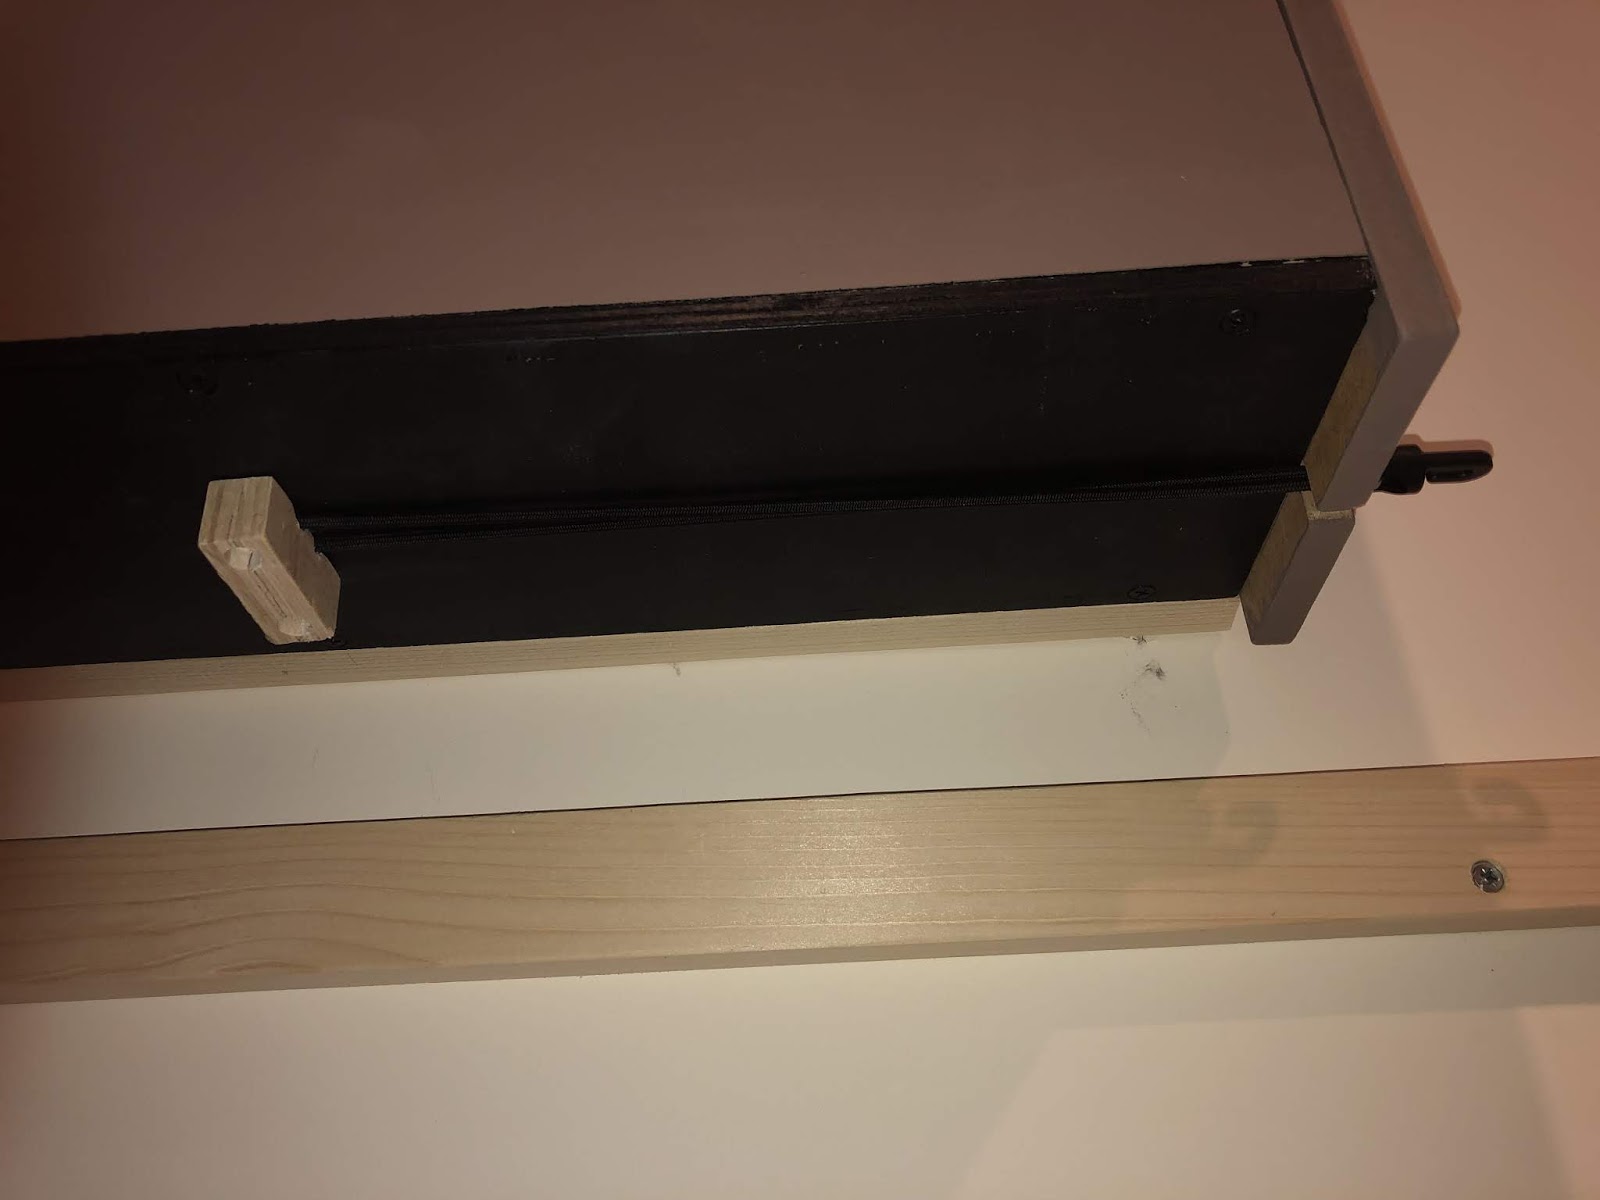
| The elastic latch at the bottom of safe door. |
 |
| Back of door showing inset rabbet light seal. |
 |
| Detail of door front showing elastic latch at bottom. |
 |
| Detail of safe door with latch released and note paper to show contents. |
 |
| Detail on interior with dividers to make 3 compartments. |
Testing
Once it was assembled I had to test it for light tightness. I did this by cutting up a sheet of 8x10 paper into small pieces under a safelight. I numbered each piece. I then removed the dividers and taped pieces all along the edges of the divider on both sides. I made a drawing of where the paper was located with respect to the paper-safe sides. I then slid the divider into the safe and closed the door and latched it. Next I turned on the room lights and left the door to my darkroom open for several hours. I then closed the door, and opened the paper-safe under the safe light and developed each piece of paper. They all came back completely white. If they did not I could use my drawing to find the corner or joint that was leaking and remedy it.
Drawings
I have produced some roughly dimensioned drawings of the design if someone want to reproduce it.


Comments