Framing Fohar and Small Prints: Updated with Final Results
Now that I have completed a session of printing comes the time to select images and decide on framing. I have what I guess one would call a trademark format for framing and as a result I found myself out in the garage making some frames. I have a simpler stripped back framing system I use for many prints. No glazing, wooden frames that are blackened with the Japanese technique of yakisugi.
This time I am enjoying smaller prints made on 5x7" (13x18cm) Fohar Bulgarian paper. This leaves a question about framing and proportions. I started out with a simple 5x7 frame but found it was difficult with the narrow 1/4" borders, the deep brown of the print blending too much with the frame.
 |
| Mock-up of 5x7 Frame |
So, I made a new frame that allowed for a wide mount (matte) frame. I have mocked this up below with a paper version of the mount to see if I liked it. I have an order of properly cut mount board to fit in the frames. The beauty of these frames is the rebate for fitting the photo can take the thickness of the Bristol board I mount the photo to, plus the mount board frame, and optionally thin acrylic or glass glazing if desired.
 |
| Mock-up of wider mount board version. |
These proportions are much nicer, and it will be great with a proper mount board fitted to it.
 |
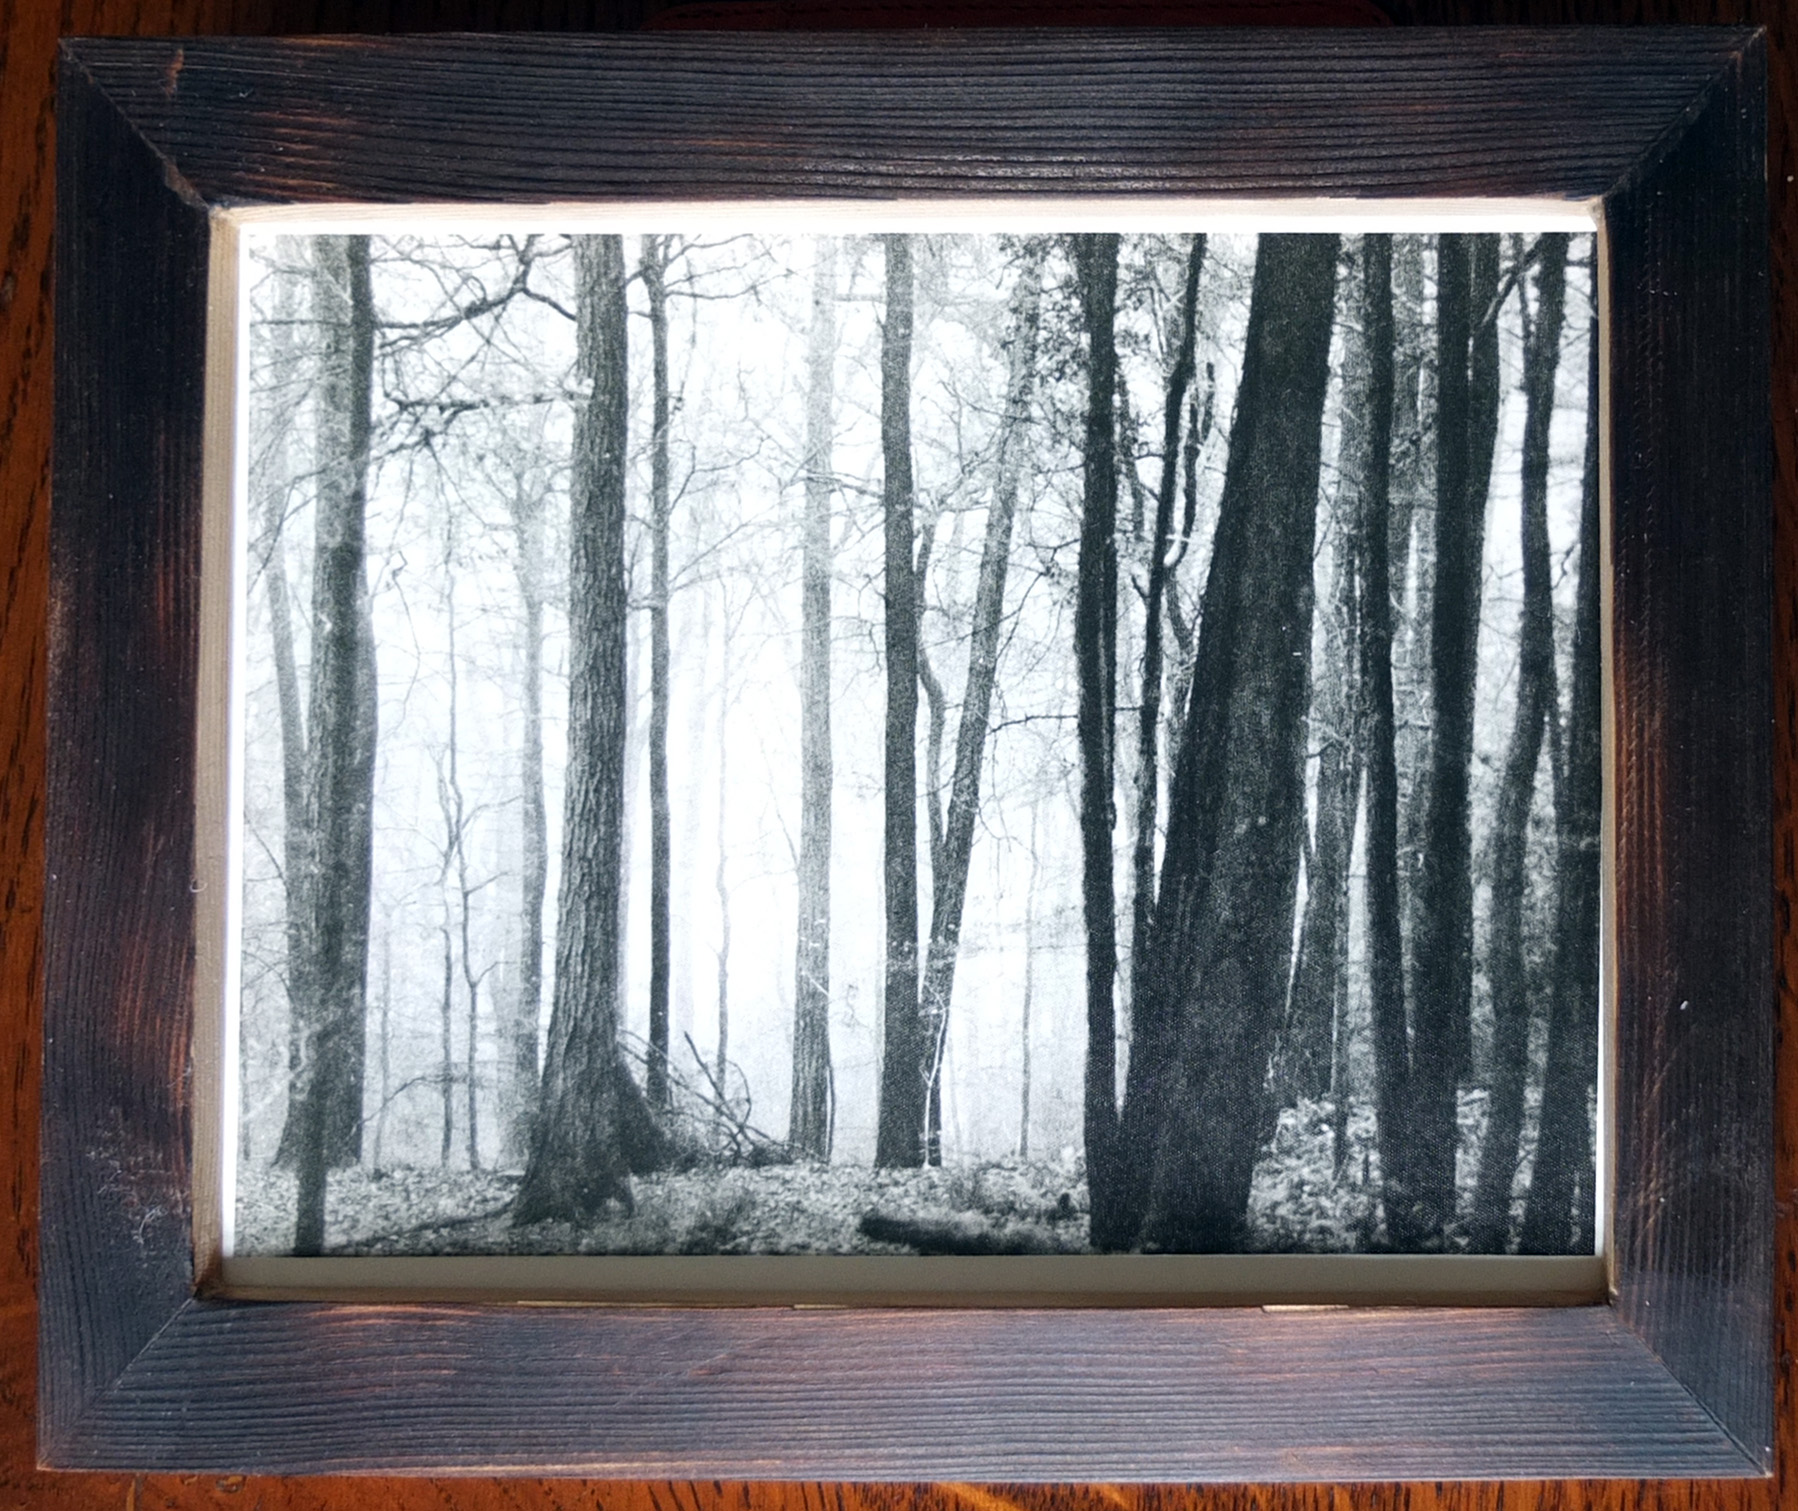
| Large borders (1"/25mm) |
This particular image I conspired to imitate and accident on the previous print run where the print was unevenly developed. This resulted in shading that gave an idea of light slanting in from outside the print. In this case I burned a triangular section on the bottom right of the image which very effectively gives a look of shading.
 |
| Original 'accidental' print |
 |
| Blue toned print with varnish and ammonia cleaning. |
Finally, an untoned version.
 |
| Untoned version. |
Updated Material
I got the mount boards back and fit them to the prints and frames. Since I orderd extra I framed an additional Fohar print I really liked in the wider mount style. It feels good to have these up now. Below are some snapshots of the results.


And in context in the 'Gallery'...


Comments