Posts

Lumen Prints

Image
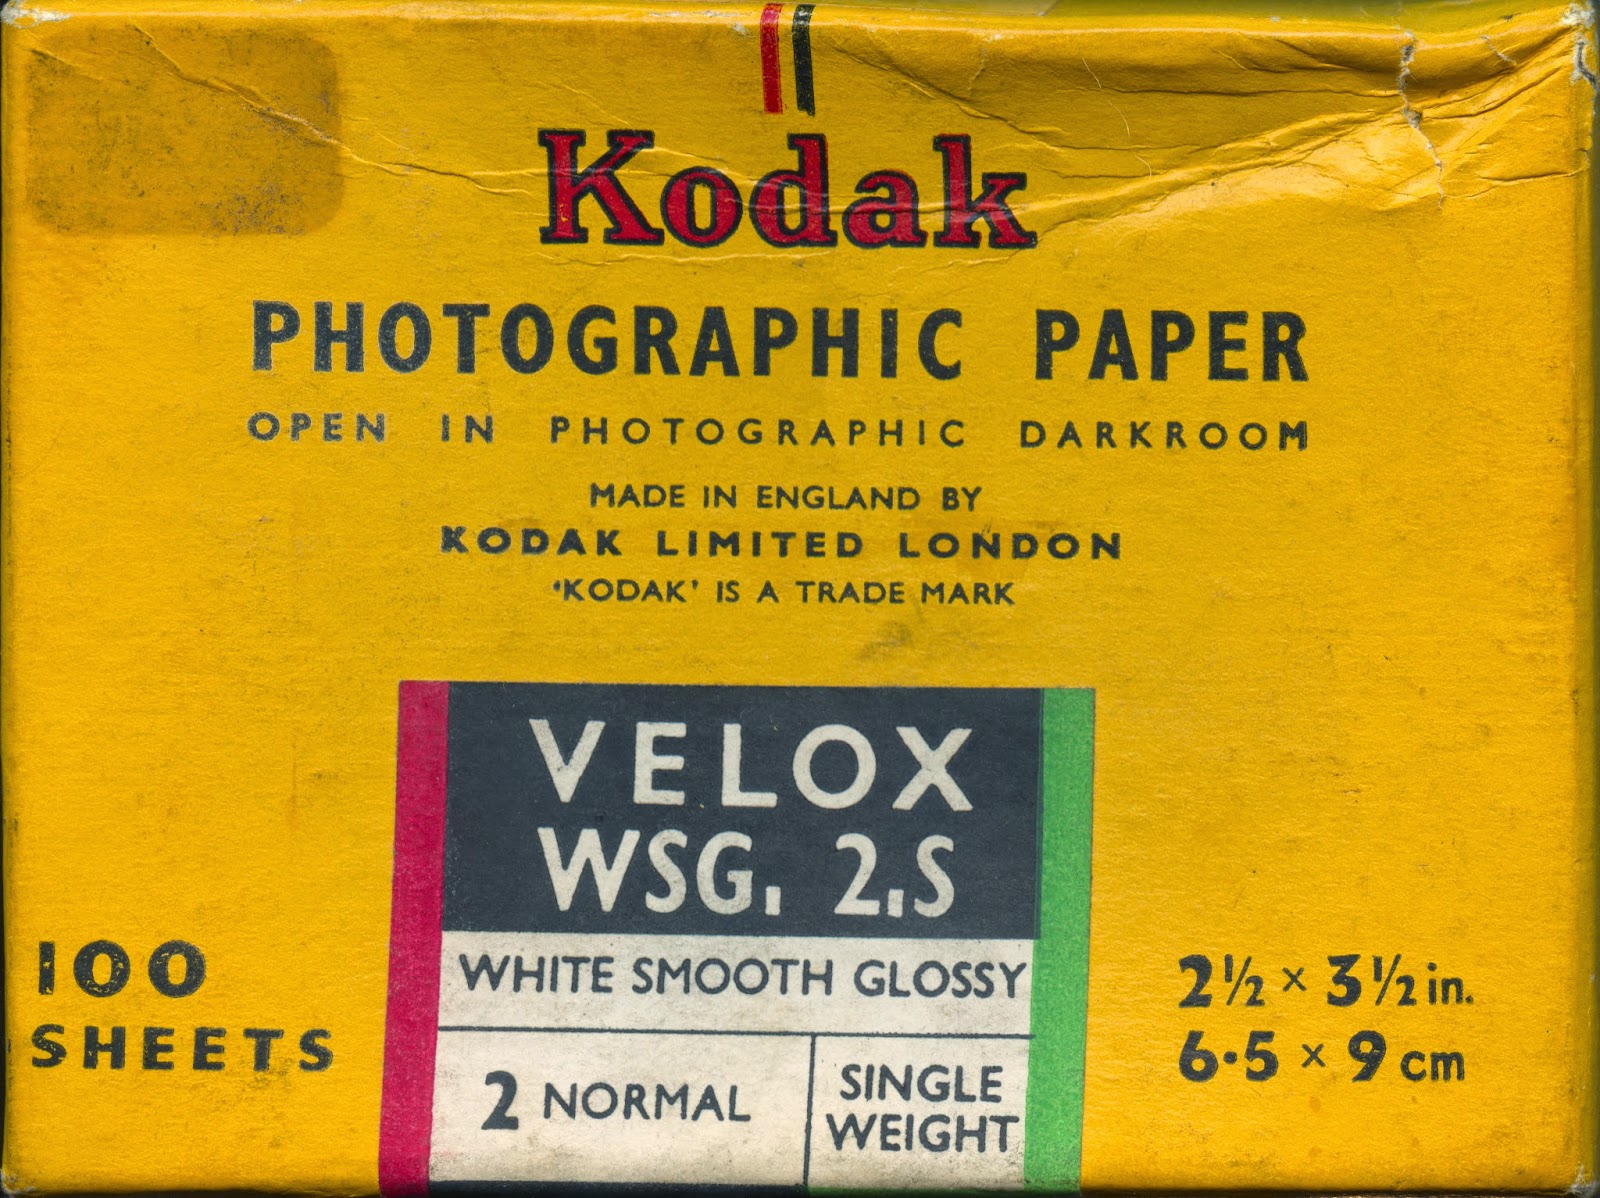
Shamelessly following Wolfgang Moersch  the Magical German Chemist on Flickr I ran across his recent Lumen print series where he has coaxed some amazing colors from black and white paper. Always up for an experiment I put some of my vintage paper to the task. None are as good as his but still good fun. I used some Kodak Velox paper. I would guess from the 1960s. These I arranged in a printing frame with various plant samples sandwiched with a sheet of thin Perspex on top. I left these in the sun for 2 hours. It was the waning evening sun after work. I then tried fixing and developing and toning them. The results are below... This I developed very quickly (about 10 seconds) in Universal PQ developer before fixing. Hawthorne leaf. This was fixed in Rapid Fixer. Juniper branch. The brown is some residual selenium toner. Fern fixed in Rapid Fixer. Another fern, this time toned in selenium 1+3 toner and fixed in Rapid Fixer....

Negatives from Digital

Image
This is another of those perverse topic of mixing analog and digital in photography. Occasionally I will have a photo that I want to print that is not in the form of a B+W negative. If it is a color negative then that has worked out OK. For instance I have taken this photo as a color negative and printed it with little difficulty. Color Negative (Kodak Porta 400)  Positive Image (Photoshop)   The negatives I merely printed directly in the enlarger  of Ilford MGIV RC De Luxe Paper. The result is here... B+W RC Print It becomes more difficult from a positive slide film image. Here an inter-negative must be produced. In this blog entry ( Paper Inter-Negative Anza-Borrego ) I show one traditional way of achieving a B+W print from a color slide. Clearly this is time consuming but satisfying in the purity of the treatment (all analog). It is more difficult if you have a photo taken on a digital camera. I have tried tried making a digital negative f...

Ocean City Prints

Image
Last month I visited my son in New Jersey. We took a day to visit Ocean City a family friendly beach town with a boardwalk. I took along my Yashica MAT124G and shot some black and white photos. I printed 3 of them and they are here. First was a dead horseshoe crab we found on the sand. I ran test strips for the #00 and #5 filter for split contrast printing. f11 #5 filter f11 #00 filter  So I picked #5 at 16 seconds and #00 at 8 seconds for the first print. Horseshoe Crab f11 #5 16 sec #00 8 sec  I also tried the following. Horseshoe Crab f11 #5 16 sec #00 16 sec  Horseshoe Crab f11 #5 20 sec #00 8 sec  Next was a picture of the fisherman's pier. Pier Test Strip  f16 #00 Pier Test Strip  f16 #5 Pier f16 #5 16 sec #00 8 sec  Pier f16 #5 16 sec #00 16 sec  Pier f16 #5 20 sec #00 8 sec  And finally my son on the boardwalk. Boardwalk Test Strip  f16 #00 Boardwalk Test Strip  f16...

Kodak L15 Lantern Plates

Image
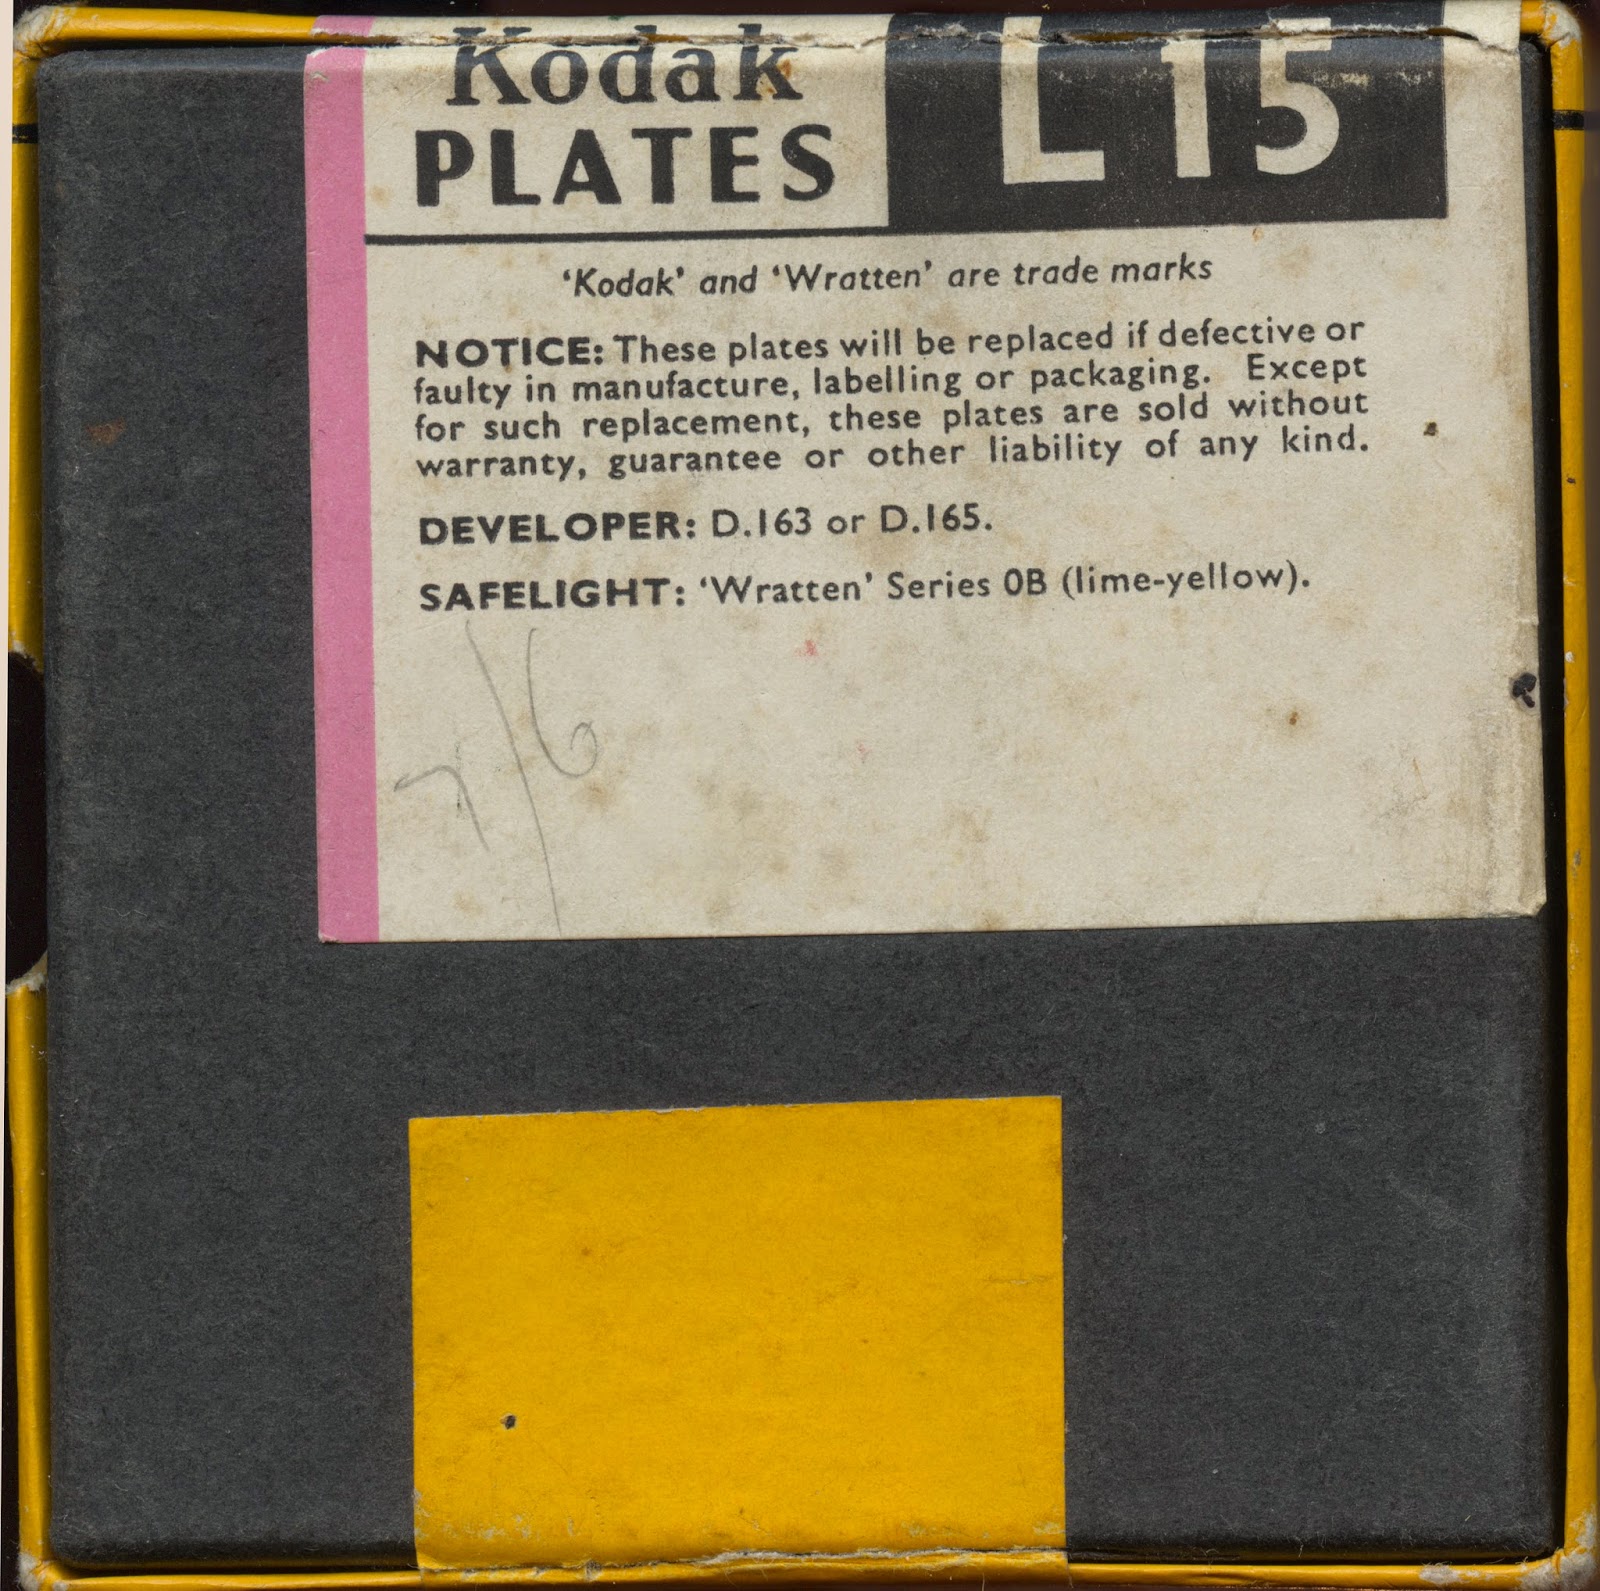
The next set of vintage paper is not actual paper but glass plates. These are Kodak L16 Lantern Plates. They are bromide emulsion and one is to treat them as if they are bromide paper according to the instructions. They are 3 1/4"x 3 1/4" square and as the name implies they are meant for a Magic Lantern for Projection. The brochure also suggests spectrographic work in the blue to ultraviolet parts of the spectrum. Bottom Packaging Label The brochure is reproduced here... L16 Brochure Front (click to enlarge) L16 Brochure Back (click to enlarge) In the past I have noticed that my usual paper developer Ilford Universal PQ does not deal with fogging on some old emulsions whereas EasyLith from Wolfgang Moersch performs much better. The trouble with Lith is that the exposure takes longer as well as the developer and the vigilance to snatch the print at the right time. So I printed my first plate using EasyLith with the enlarger set at f8 I judged a 2 mi...

Fiber Print Drying Method

Image
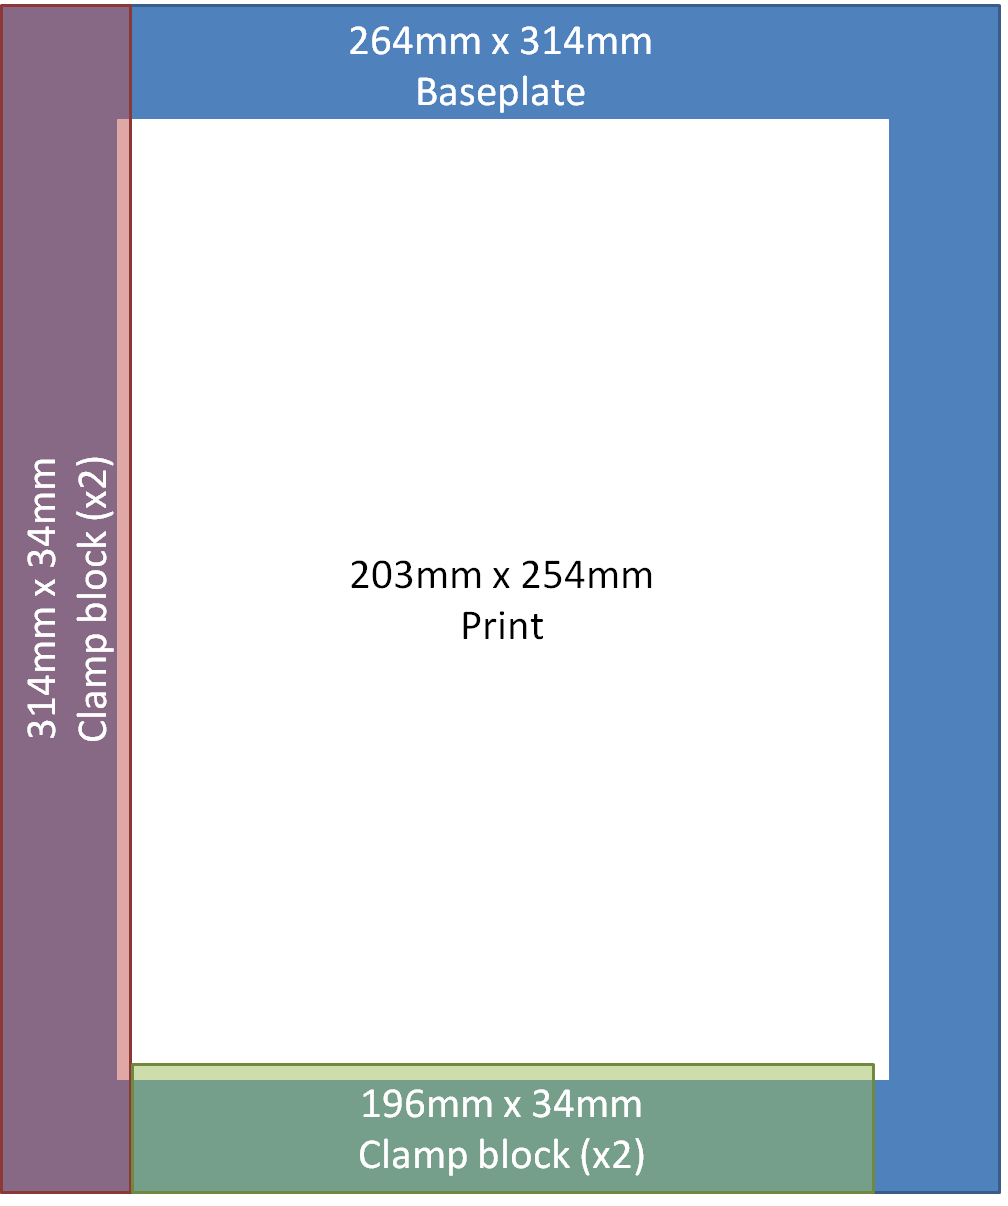
I have recently started printing on fiber-based paper in the darkroom. I started with RC paper which has the great advantages of speed (lower fix and wash times) and it dries perfectly flat. My referred poison here is Ilford MGIV Deluxe. The reasons to move to fiber are based on the view that most 'serious' photographers in the darkroom use fiber for archival quality. RC works really well I have to say with the biggest hassle of drying prints flat not present. With Fiber paper the paper inevitably curls. It makes in difficult to mount and to store. I did some research and ran across the usual suspects, blotter paper under stacks of books (can work but really flat prints take days in my experience), wet prints hung back to back (better than nothing), a dry mount press or print drier (serious money), and finally taping the print by the margins to sheets of glass using wet adhesive packing or watercolor tape. The last one caught my eye. It is clever and uses the wetness of th...