Modelling Prints in Post Processing:Part 1 Gamma Method
I recently made some test prints at my local Walmart. I know Walmart? Really? I read about some happy customer on Reddit who used their local Walmart and liked the prints they got. I decided to give it a try. Welcome to small town America! My earlier work indicated that even proper color labs have lots of variation. So why not?
My prints were printed on ‘FujiFilm Quality Dry Photopaper’ as it says on the back and is printed on an inkjet printer. My first results were quite dark which is typical as a screen version of an image always appears lighter due to the backlighting of the image.
Here is my starting image I used to make the print after I had done some post processing mostly for contrast and brightness. I scaled into fit an 8x10 print and added white borders.
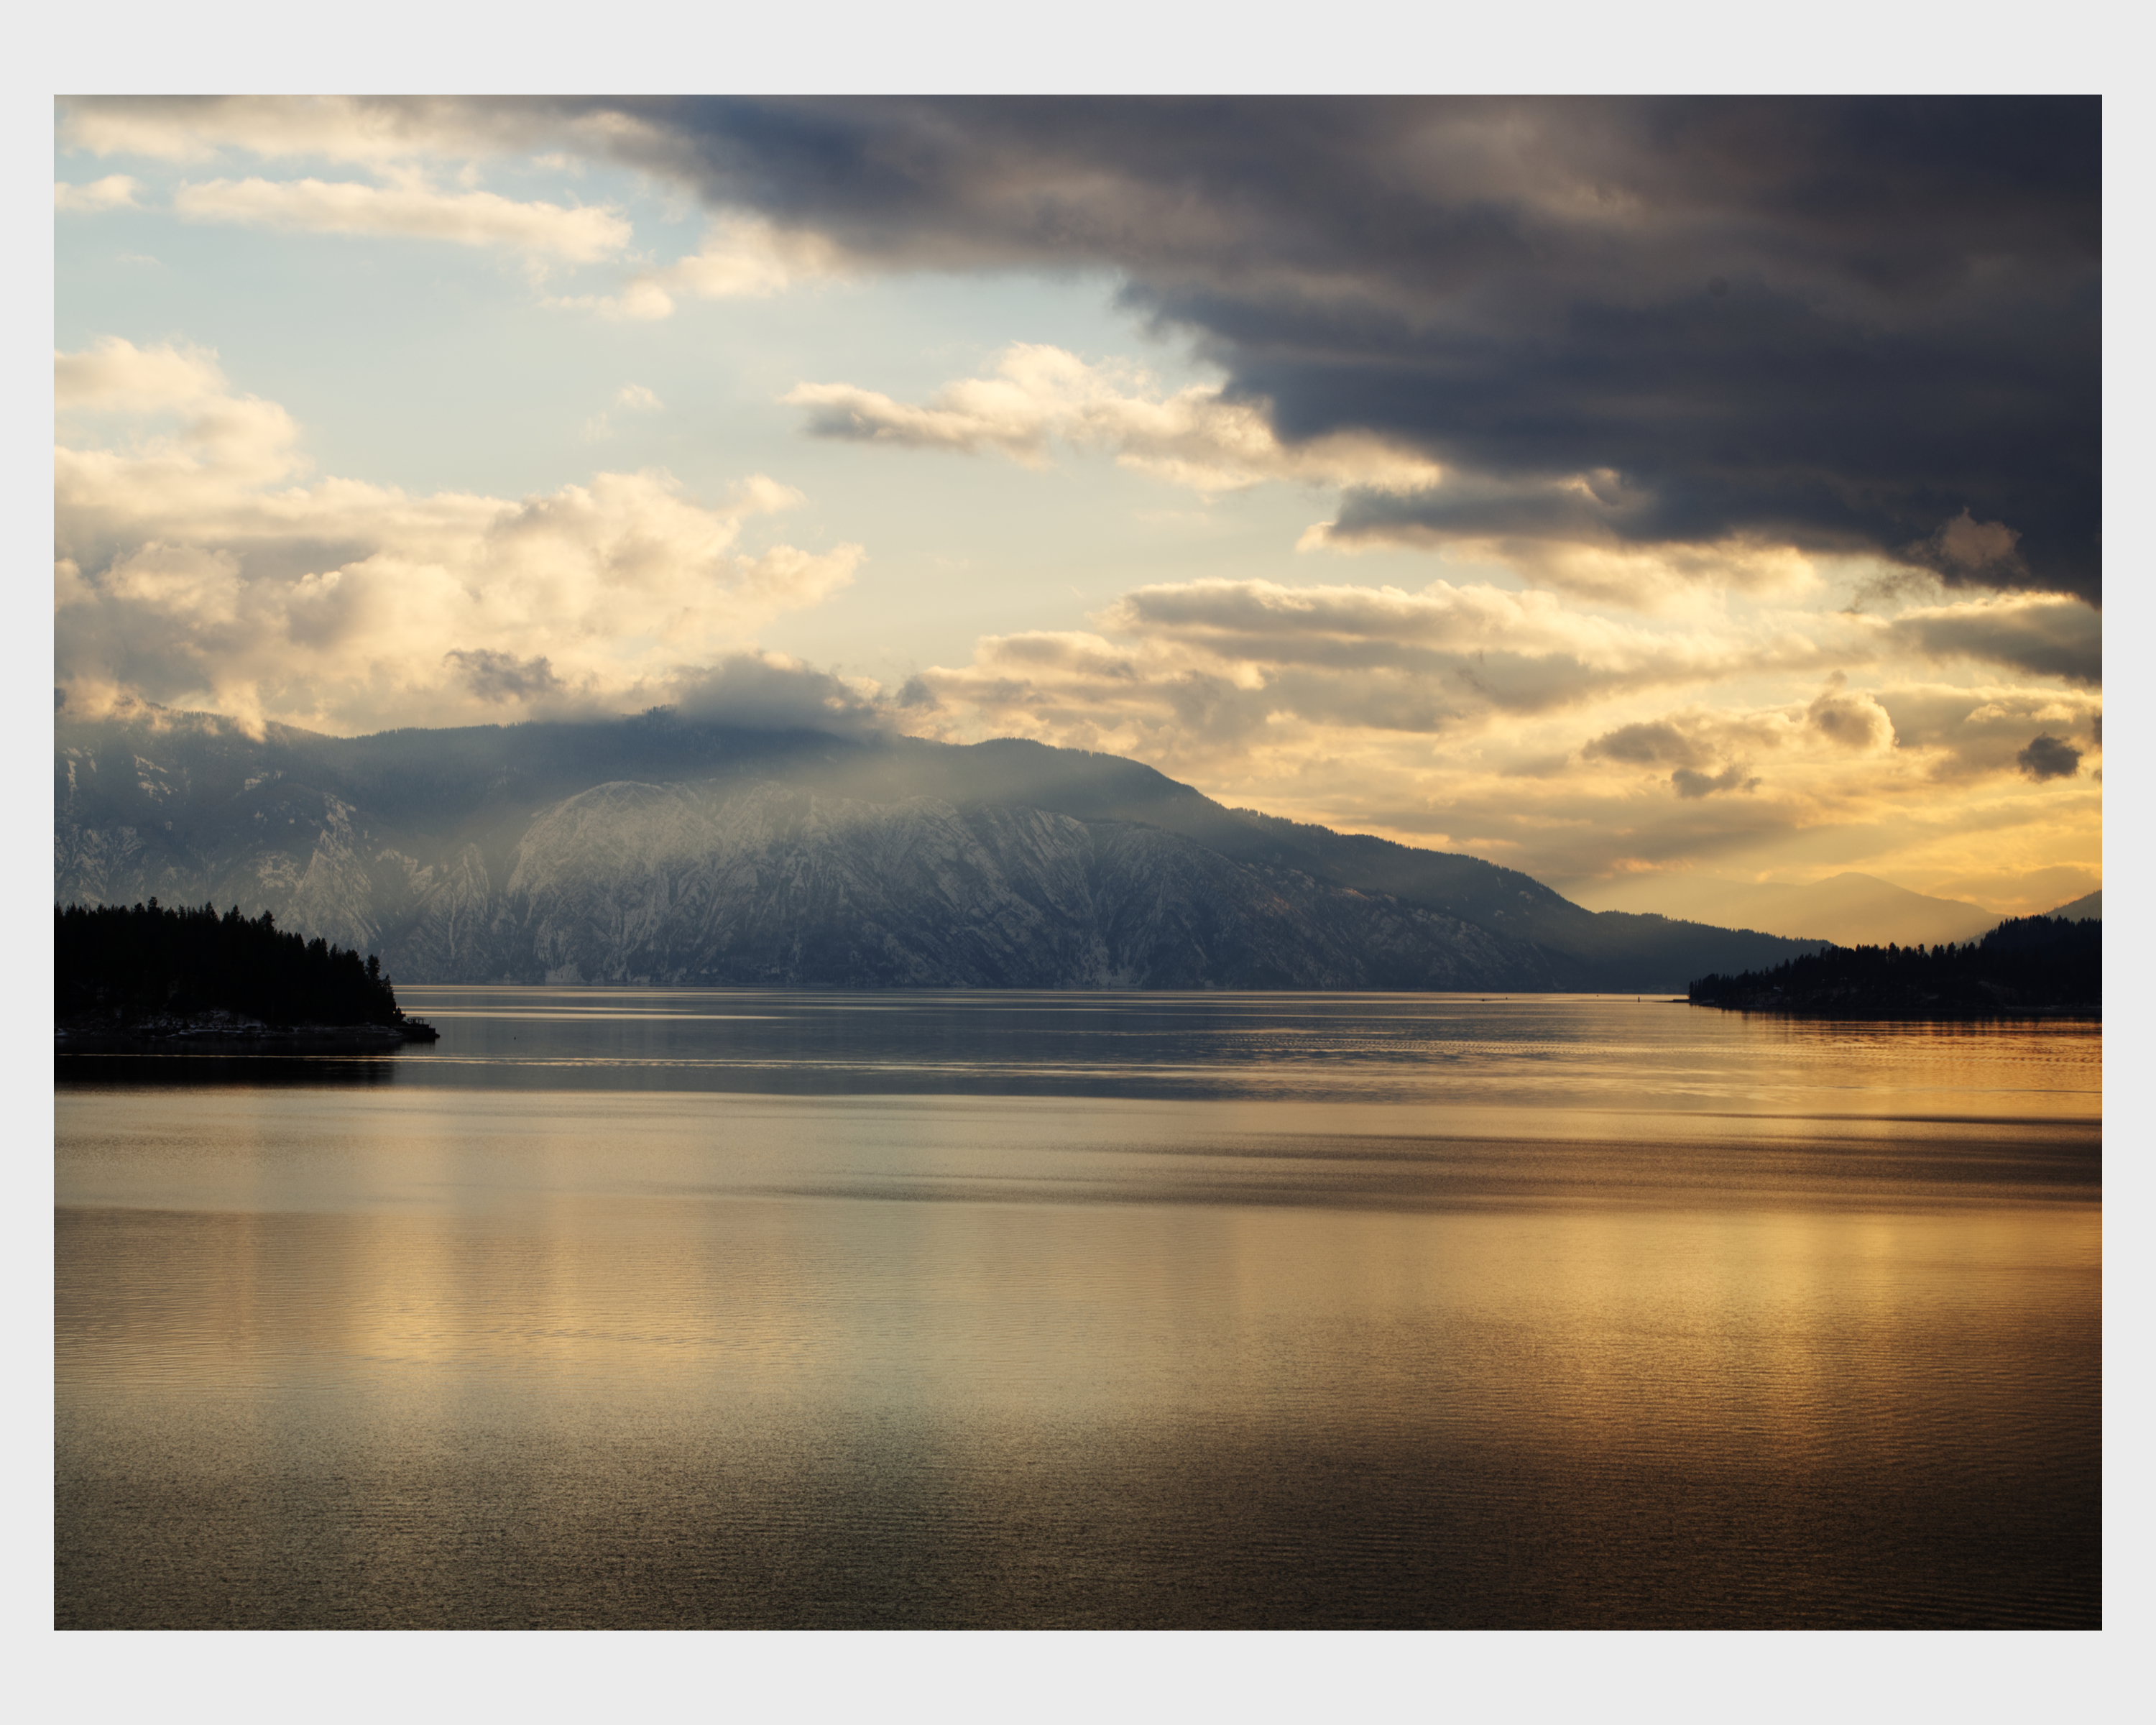 |
| Original Image |
I have dabbled in compensation of images to get better looking prints. In some cases I raised brightness by about 20%, or increased just the shadows by 20%, or moved the gamma. They each have their own benefits and pitfalls.
If we look at the image above in Affinity Photo we can see the histogram (I have blackened the borders to make it easier to interpret.). Note green and blue spikes on the right these are image highlights
 |
| Original Image Histogram |
Raising the brightness alone works if the image lacks strong highlights. The main drawback is the highlights can become blown out as the over image brightness is raised. Below we can see the result in the histogram. The blue and green spikes are further to the right and the highlights crowd up to the white area.
 |
| +20% Brightness |
 |
| Boost shadows +20% |
Generally I prefer gamma correction if I am after a simple single adjustment. Gamma expresses a logarithmic transfer function that helps an image conform to human perception. Humans can perceive better areas at the darker end of the image than the brighter part of the image. In this application we manipulate gamma in the ‘levels’ function either explicitly as done here in Affinity or by manipulating the level histogram center point in other photo editors. This then distributes the intensity of each pixel up or down but crucially does not change the white or black points. Instead the nearby intensity values are compressed or placed closer together.
Now the difficult part is knowing how much gamma to apply to lighten the image enough. I reckoned however if I could manipulate the gamma until the image on the screen matched my too dark print then I would have a reference. That is the gamma I derived experimentally would approximate what the printer was doing to the image. It then becomes a matter of applying the inverse gamma which is the reciprocal (1/y) of my approximation of the printer gamma.
(Disclaimer about the sample prints shown. I find it very difficult to photograph prints in a way the accurately represents what they look like in hand. The color of the light source, the camera’s compensations and other factors leave me unsatisfied generally. My apologies if the prints and descriptions don’t quite make sense.)
 |
| First Test Print |
For this example I create 2 levels layers both of which default to a gamma of 1.0 which means no change. In this example I group the two level layers together which allows me to switch them both off at the same time. (In this example you will see the brightness and shadow layers I used for the above examples though they will remain turned off for this section.
I then change the gamma on one until the image on the screen best matches my test print. For me this looked like about 1.6 as seen below. Note how much darker the image is. Since I am trying to get the same image as the test print it should be as dark as the test print appears. I move the gamma up and down until I am convinced I have as close a match as I can achieve.
 |
| Gamma of 1.6 applied. |
The next step is to use the second level layer. In this one I enter the inverse or reciprocal of the gamma above which is .625. When only this gamma is enabled I get a much lighter image than the original which makes sense if I want a lighter print. If my judgement about the degree of darkness in the original print is right then I should get a much better result.
 |
| Gamma .625 applied. |
 |
| Both gammas applied (no change as they cancel each other) |
 |
| Print with gamma of .625 applied. |
 |
| First Test Print (again for comparison) |
Comments