Pin Registered Negative Carrier for the ‘Beast’
Introduction
It all started with a little trouble dodging shadows in a print I was working on. This lead me to explore masking in an intuitive fashion have never really studied it. I always thought a contact print on film could be used to reduce contrast or lighten shadows depending on the exposure and contrast of the contact print. So I started there.I also started to read more and looked into the problem of registration. There are pin registration systems though they are expensive (on the order of $500). I began to think about making one myself. A little more research and I could see the pieces coming together.
The Implementation

The core of the system is to produce 2 precisely spaced holes in film or a film carrier. This is simply addressed by a two hole paper punch like follows.
 |
| Hole Punch |
 |
| Ternes-Burton Registration Pin |
The next piece is to adapt the Durst negative carrier called OTONEG 2 pictured below.

Durst has a registration pin system built-in however the punch for it is very rare and can be expensive. I opted to make my own. I start by making an insert that fits into the indented part of the tray. The indentation is about 1.5 mm deep. I plan to use RazorLab to laser cut the shape I need need. I measure the dimensions and this is what the plan looks like.

I place two sets of holes in this diagram, one is 1/4” (6.35mm) at 2.75” (69.85mm) centers. I also provided for 6mm holes on 80mm centers for the UK style punch I have in case I ever decide to use it. Once I entered the design in InkScape I decided to put both set of holes on the long horizontal part at the bottom of this drawing. Putting the pins on the long axis allows the use of 5x7 films to make masks by punching the film. I will have this cut from black mount board which is 1.4mm thick.
(The Inkscape files I used for the insert frame from RazorLab is here. The transparent cover InkScape file is here.)
The registration pins will push through the holes in the mount board and being .085” (2.2 mm) tall will be proud of the mount board for the film pieces to be stacked on. I will need to use tin snips to cut the excess thin metal to allow it to fit the indentation of the negative carrier. The whole thing should fit snugly but I am prepared to glue it together if need be.
To avoid punching holes in the original negative one uses an old piece of film trimmed to about 12mm x 5 inches. The holes are punched in this and this is taped to the negative. The recommended tape is 3M ruby lith tape as it is meant to be safe for negatives.
Finally it is useful to have a glass cover to compress the different mask layers together. I opted for clear acrylic as I can get this cut by RazorLab as well. I have it cut for the outline of the mount board base with the holes for the pins cut out as well. The acrylic is 3mm thick which adds to the mount board thickness of 1.4 mm. The top of the OTONEG 2 negative carrier has a cavity with about 3.5mm so the whole thing should fit.
With the arrival of the parts from RazorLab I am ready to assemble the whole thing. The first thing I did was to trim the excess stainless steel from around the Ternes-Burton pins as shown below.
 |
| Trimmed pin |
 |
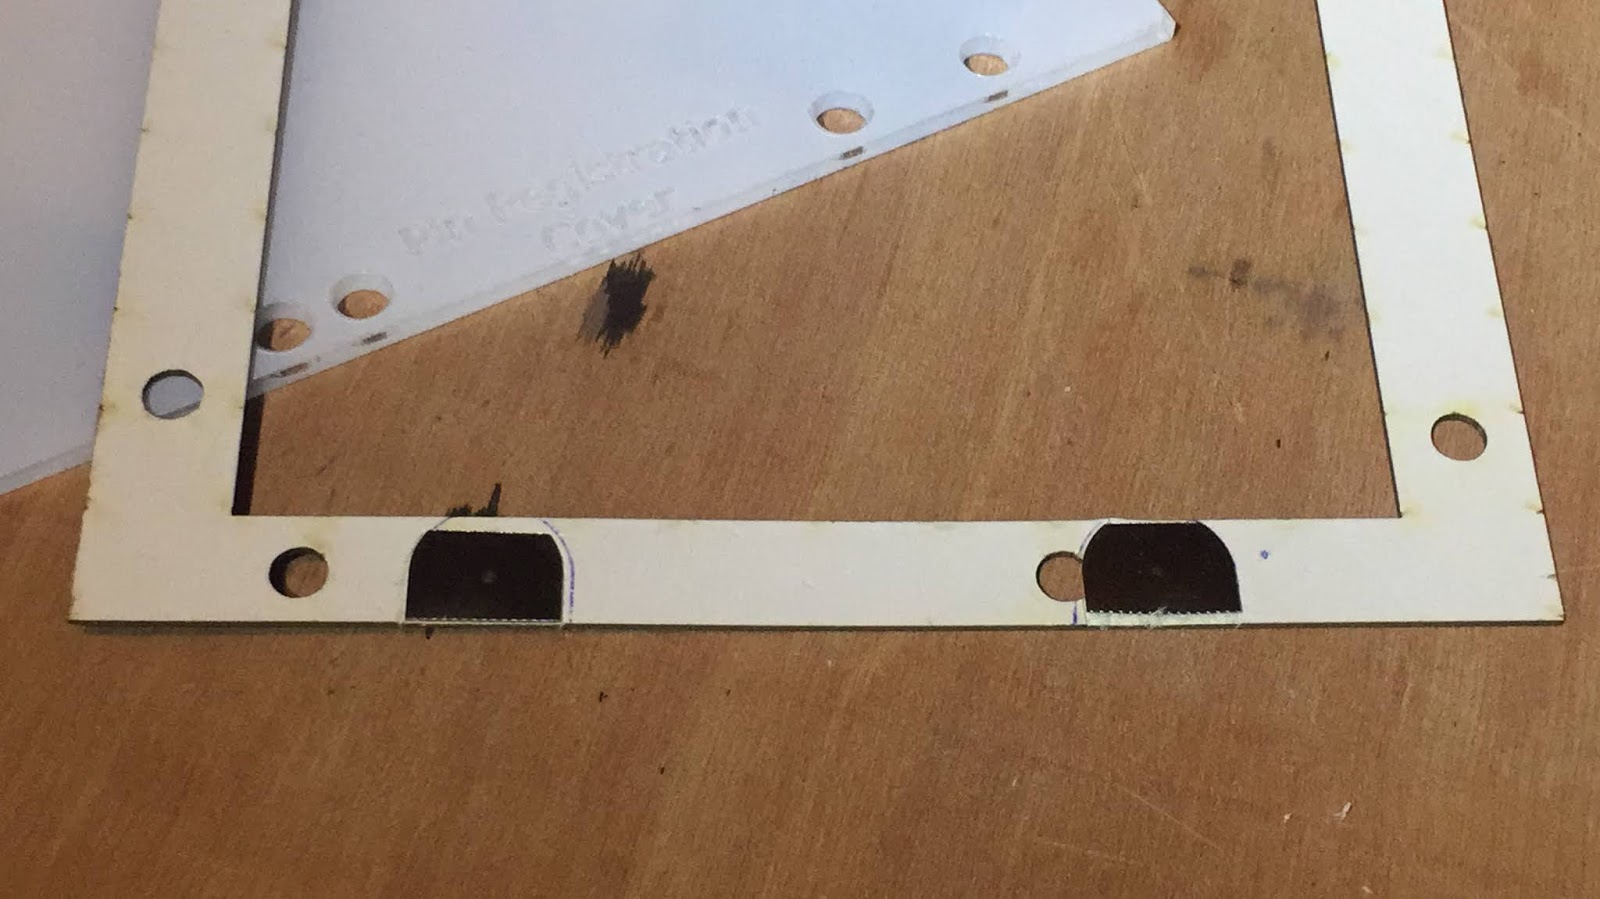
| Recesses cut for the pins. |
 |
| Pins glued in place (bottom view) |
This is what it looks like from the top side with the pins in place.
 |
| Top view |
 |
| Scrap film in place. |
I will have to modify the hole punch so it places the holes closer to the front edge of the film and and is properly centered.
I also checked the fit of the clear acrylic cover.
 |
| Clear cover over film. |
Next I fit the frame into the OTONEG 2 carrier. It was a very tight fit but it works well and will not move so registration should be consistent.
 |
| Frame placed in negative carrier. |
The next steps are to try it out. Now that I know it fits I will probably make a second frame so I can use that to expose masks without using the negative carrier. The whole system should be precise enough to avoid registration problems when moving between the two. I will also consider if I want to make one for my 6x6 enlarger or adapt the beast for 120 film as it has the lenses.
Next Steps
- Build second pinned mask frame
- Modify throat of hole punch to locate holes properly on film
- Cut and punch diffusion film
- Build 120 film version either 6x6 or 6xN
Comments
nicely done
always good to place useful information into the net. I hope others see your post