Mathematical Trees Study 2: More time in the Lith Rabbit Hole!
After my first images in this series resulted in extended time re-connecting with Lith development I finally moved on to image 2 of the Mathematical Trees series. One comment by Sergio on this blog mentioned the idea of formalism that I think is correct. I am going through a deliberate process to view these images in different ways. While formal I am also allowing serendipity to play a role where mistakes and impulses can contribute.
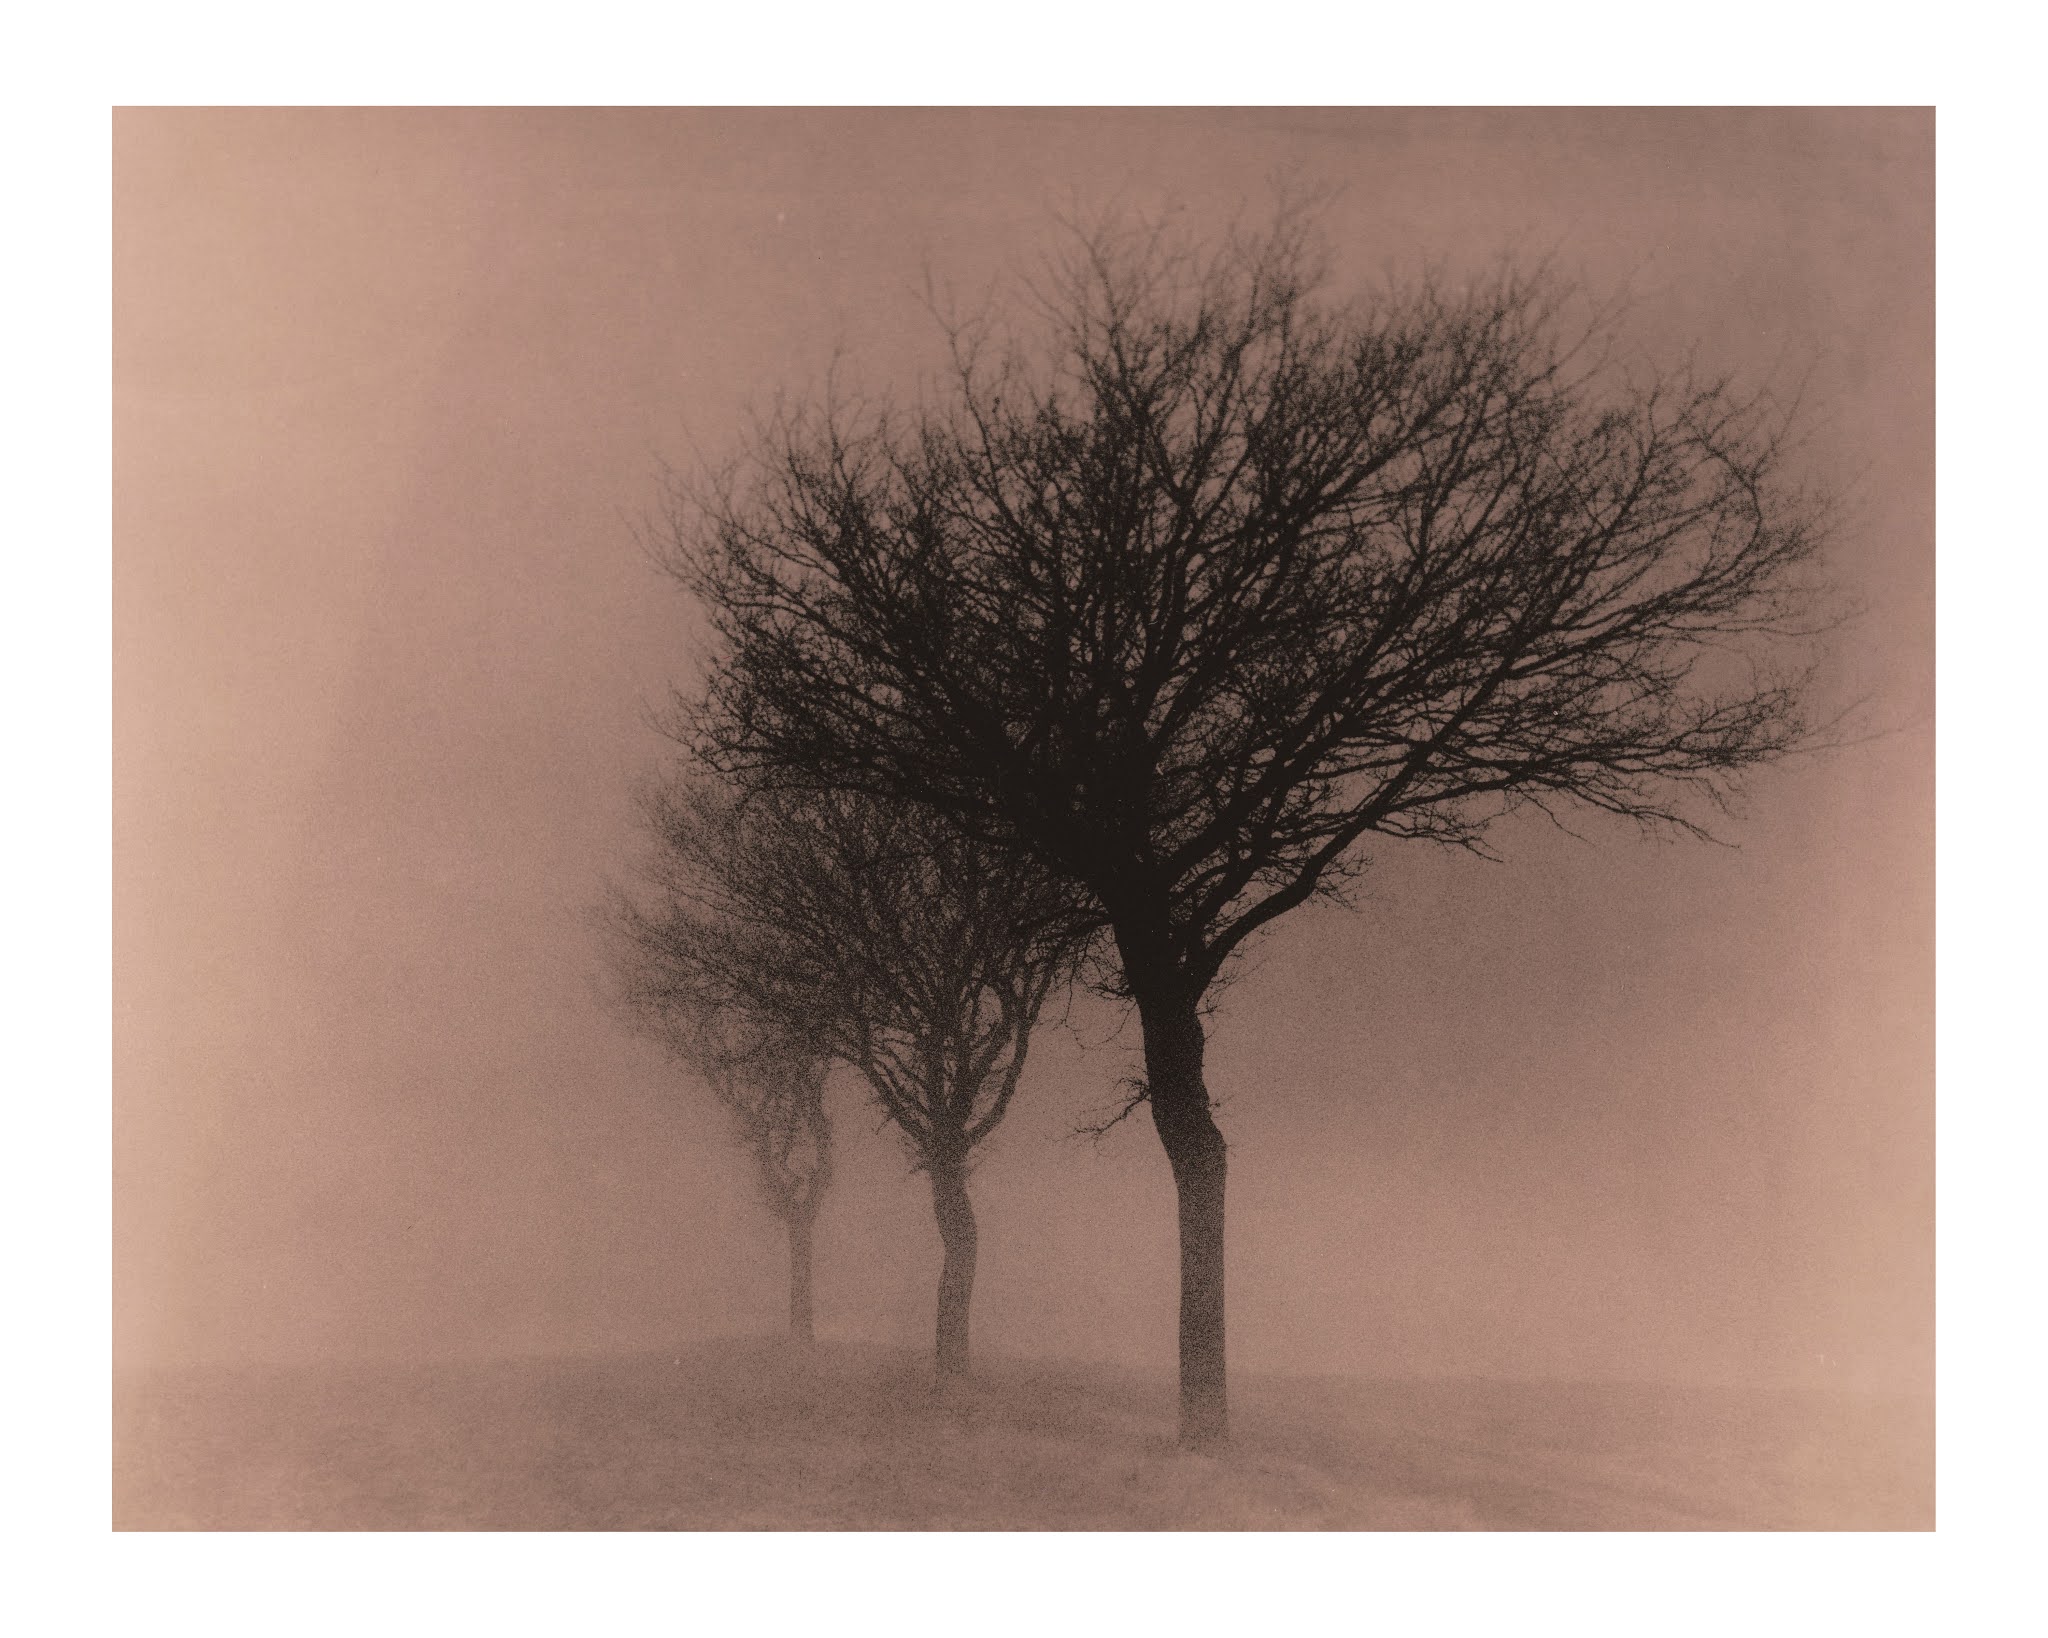 |
| Blog post cover photo |
This second image was the same trio of trees but taken from the left side. This vantage meant the sun was behind me and the gradient of light across the image is not so apparent. This could make printing easier. I started with an initial square crop but found that cramped and liked the rectangular crop more where the eye is allowed to follow the line the trees make.
Again I am working with lith developer. I started out with the Oriental Seagull paper I used in the last set. I have almost 300 sheets of it so I can use it to get the best exposure and composition before making one or two images on the Fotospeed paper that delivers so much nice color. I only have a dozen or so sheets left so I am trying to be careful. I also know how to alter the exposure time from the Oriental Seagull to suit that paper.
For the exposure I upped it 1 stop from the previous prints as this negative seems a stop denser in the fog by measurement with a light meter. I mixed a fresh batch of developer of recommended strength. After this first print I added 15ml of 10% Sodium Sulphite solution. (I found myself freshening the developer every couple of prints with more developer or more sodium Sulphite. This kept the development times reasonable to less than a half hour.)
 |
| First square crop. (Seagull 1) |
 |
| A better crop (Oriental Seagull 2) |
This came out nearly perfect. I was a little disturbed by the dark area at the top of the print so decided to slightly re-crop by zooming in slightly and refocusing. I then printed a new Seagull with the same burn as above.
For the next image I re-cropped as described above then ran a 45 second exposure burning from top down over about 20 seconds.
 |
| Slight re-crop to lose dark line at top. (Oriental Seagull 3) |
 |
| Foma (5) Paper (wrinkles from unflat paper) |
I next decided to risk some Fotospeed paper. I did the same timings as the Foma paper but divided the extra 1/2 stop burn between top down and left to right to balance the exposure in that direction as the Foma print indicated this might be helpful to achieve an overall balance in exposure.
 |
| Fotospeed 5 |
This paper has such lovely colors. I will be sad when it is all gone!
I now think the exposure is too great. The mass of black in the center of both the Seagull and Fotospeed papers and the dark tones in the sky. The ground however has lovely detail. So I took both papers down one stop.
The Seagull version is almost imperceptible from a conventionally developed print. A beautiful range of tones with good contrast. Very little of the gritty/grainy look as well.
 |
| Seagull 6 (best result I think) |
The Fotospeed paper remained blocked up but I was exposing it more than the Seagull by 2 stops. Dodging the central part of the image might tone this down.
 |
| Fotospeed 7 (best fotospeed version) |
The next thing is to follow the mantra "go too far" so lets drop the exposure one more stop. Here we begin to see the limits. The Seagull still looks good but the blacks are not as strong.
 |
| Seagull 9 |
The Fotospeed completely falls apart. The tonal range is lost left to right and the infectious development is erratic.
 |
| Fotospeed 8 Gone too far! |
 |
| Copse Edge Oriental Seagull (grade 2) |
Origin Trees
 |
| Origin Trees 1 Oriental Seagull Lith |
 |
| Origin Trees 2 Oriental Seagull Lith |
Conclusion
There comes a point with each paper where the exposure is set and some of the shadow edges separate but below which the whole development goes haywire. It is in the upper side of this line where I think good consistent lith prints exist. Much higher exposures result in more blocked shadow areas and lots of uncontrolled tones in the highlights.
You can watch this happen during development. Infectious development catches in one or two areas of the deepest shadows and proceeds along connecting like and neighboring tonal ranges. It misses the gaps between branches where the highlights exist. You watch the race as the development proceeds along the lighter toned limbs and branches, the highlights are building but much more slowly. Once the highlights start to 'catch' infectious development then the race is lost. Especially if the shadows are incompletely developed.
- The right level of exposure is key to this differentiation between the shadows and highlights during development.
- Frequent refresh of developer is critical to consistency and keeping the development times manageable.
- Dodging and burning can help with more consistent highlights.
- Do not let the image extend past the edge of the paper. Always make borders. Infectious development tends to take hold where the image bleeds over the paper edge and can run away in an undesirable way from that point.
My earlier opinions about the look and utility of lith development has changed substantially as a result of these studies.
Exposure and Development Notes
- 60W Bulb
- 0xND filters
- No contrast filters
Seagull 1
f4 32 seconds Ev 2.9 in fog
Seagull 2
f4 45 sec 20 sec burn top down
Seagull 3 (slight re-crop to take out top of sky)
f4 45 sec 20 sec burn top down
Foma 4
f4 180 sec burn top down 60 secFotospeed 5
f4 180 sec 30 sec burn top down 30 second burn left to right
Seagull 6
f5.6 45 sec top down left right as before
Fotospeed 7
f4 90 sec 15 sec burn top down 15 second burn left to right
Fotospeed 8
f5.6 45 second burn top down left right 10 sec each
Seagull 9
f8 45 sec top down left right 10 sec each
Copse Edge Seagull Grade 2
f4 32 sec burn bottom 16 sec burn top 16 sec
Origin Trees 1 (Oriental Seagull grade 2)
128 sec burn right two trees 64 sec, burn top half 32 sec
Origin Trees 2 (Oriental Seagull grade 2)
64 sec burn right two trees 32 sec, burn top half 32 sec
Comments