Posts

Showing posts from June, 2014

Ocean City Prints

Image
Last month I visited my son in New Jersey. We took a day to visit Ocean City a family friendly beach town with a boardwalk. I took along my Yashica MAT124G and shot some black and white photos. I printed 3 of them and they are here. First was a dead horseshoe crab we found on the sand. I ran test strips for the #00 and #5 filter for split contrast printing. f11 #5 filter f11 #00 filter  So I picked #5 at 16 seconds and #00 at 8 seconds for the first print. Horseshoe Crab f11 #5 16 sec #00 8 sec  I also tried the following. Horseshoe Crab f11 #5 16 sec #00 16 sec  Horseshoe Crab f11 #5 20 sec #00 8 sec  Next was a picture of the fisherman's pier. Pier Test Strip  f16 #00 Pier Test Strip  f16 #5 Pier f16 #5 16 sec #00 8 sec  Pier f16 #5 16 sec #00 16 sec  Pier f16 #5 20 sec #00 8 sec  And finally my son on the boardwalk. Boardwalk Test Strip  f16 #00 Boardwalk Test Strip  f16 #5 Boardwalk f16 #5 16 sec #00 16 sec Bo
Kodak L15 Lantern Plates

Image
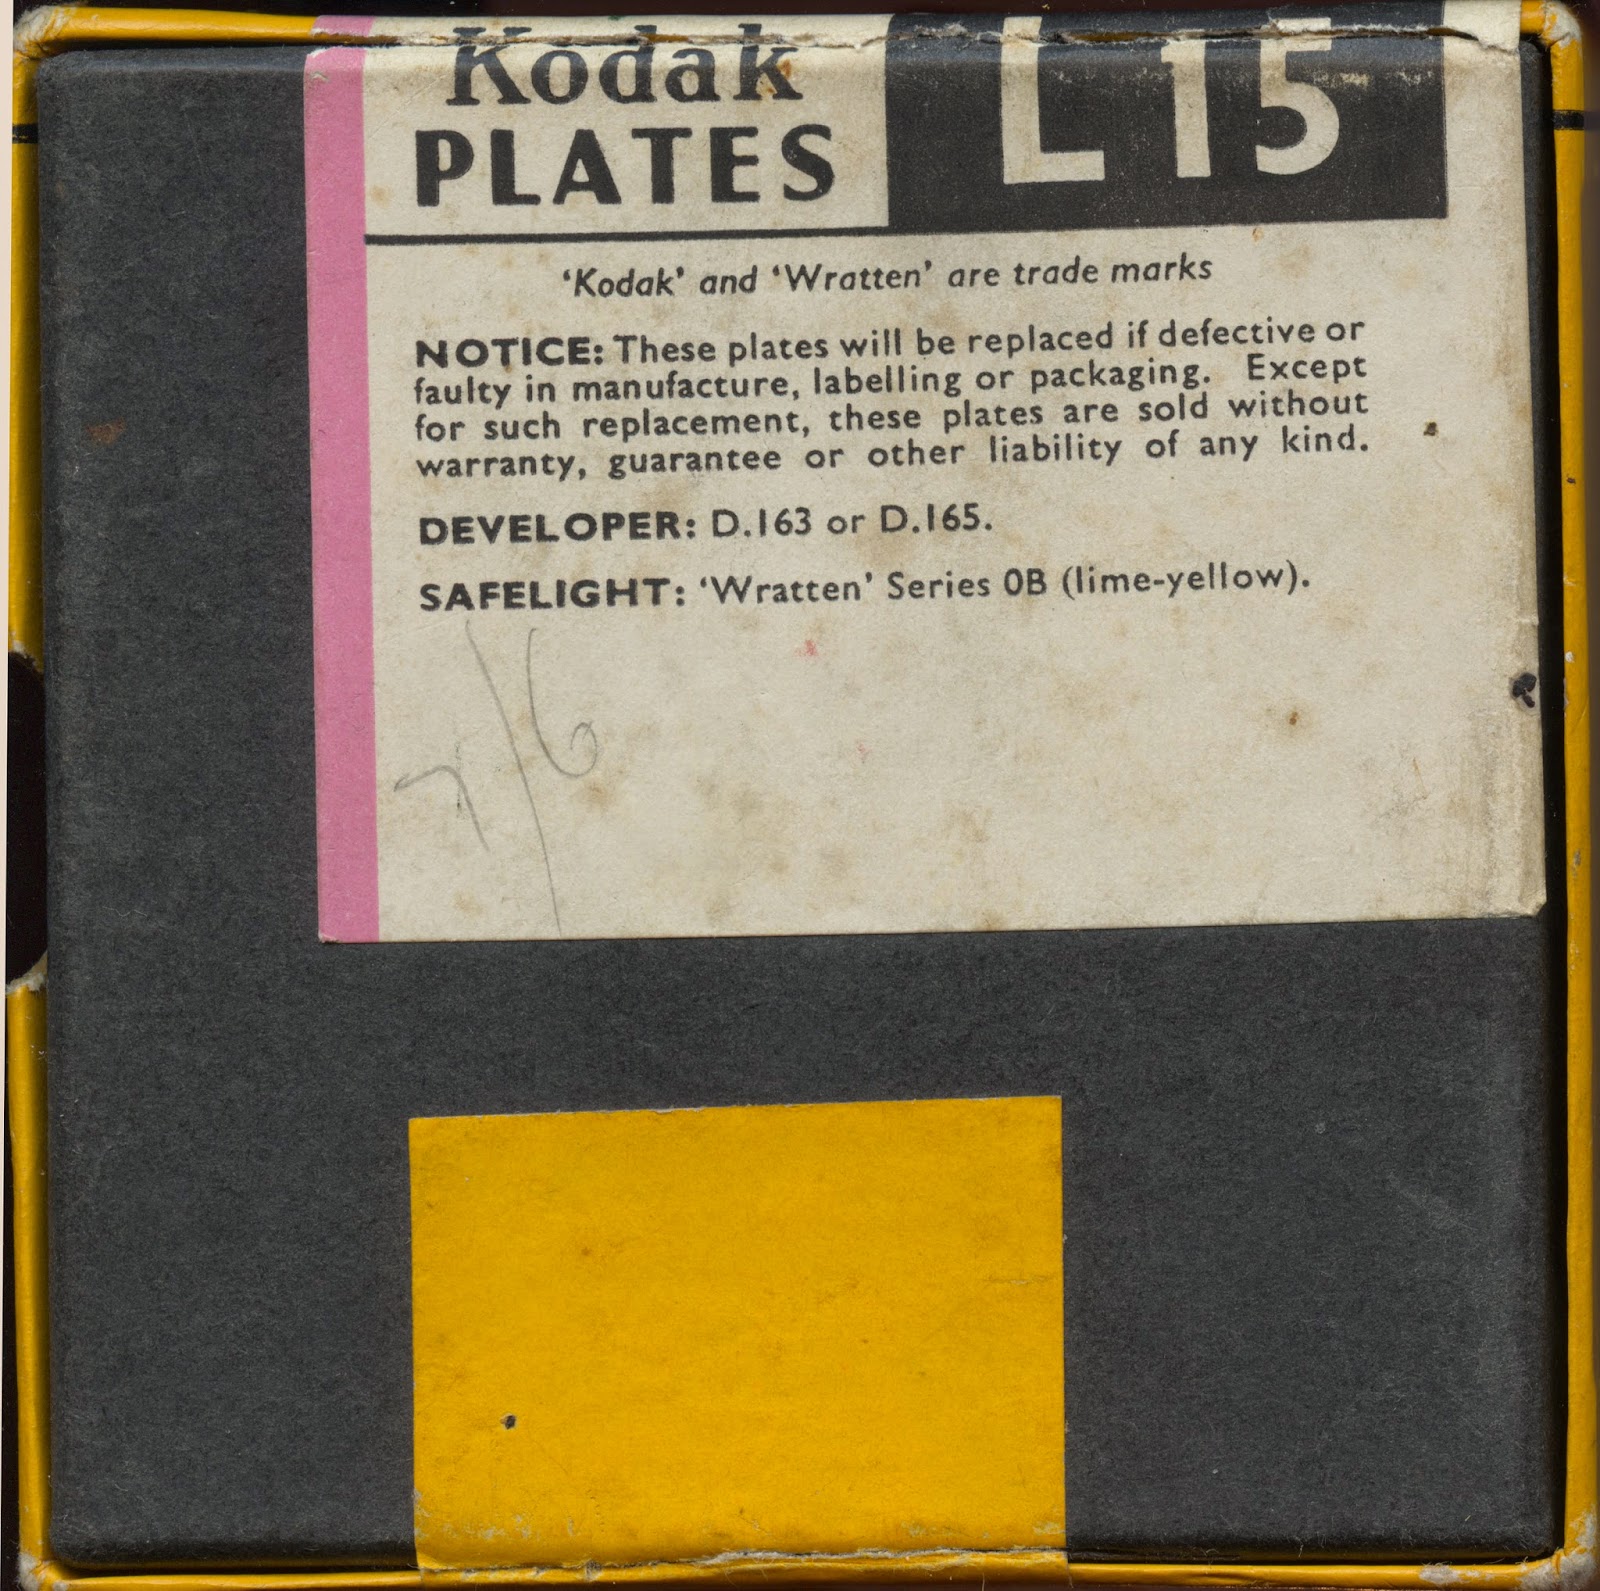
The next set of vintage paper is not actual paper but glass plates. These are Kodak L16 Lantern Plates. They are bromide emulsion and one is to treat them as if they are bromide paper according to the instructions. They are 3 1/4"x 3 1/4" square and as the name implies they are meant for a Magic Lantern for Projection. The brochure also suggests spectrographic work in the blue to ultraviolet parts of the spectrum. Bottom Packaging Label The brochure is reproduced here... L16 Brochure Front (click to enlarge) L16 Brochure Back (click to enlarge) In the past I have noticed that my usual paper developer Ilford Universal PQ does not deal with fogging on some old emulsions whereas EasyLith from Wolfgang Moersch performs much better. The trouble with Lith is that the exposure takes longer as well as the developer and the vigilance to snatch the print at the right time. So I printed my first plate using EasyLith with the enlarger set at f8 I judged a 2 mi

Fiber Print Drying Method

Image
I have recently started printing on fiber-based paper in the darkroom. I started with RC paper which has the great advantages of speed (lower fix and wash times) and it dries perfectly flat. My referred poison here is Ilford MGIV Deluxe. The reasons to move to fiber are based on the view that most 'serious' photographers in the darkroom use fiber for archival quality. RC works really well I have to say with the biggest hassle of drying prints flat not present. With Fiber paper the paper inevitably curls. It makes in difficult to mount and to store. I did some research and ran across the usual suspects, blotter paper under stacks of books (can work but really flat prints take days in my experience), wet prints hung back to back (better than nothing), a dry mount press or print drier (serious money), and finally taping the print by the margins to sheets of glass using wet adhesive packing or watercolor tape. The last one caught my eye. It is clever and uses the wetness of th

Forte Bromofort from Hungary

Image
The continuing saga on expired paper takes us to Hungary where Forte paper comes from. The company started in 1922 as part of Kodak and was later bought out. It declared bankruptcy in 2007. Adox seems to have saved some of the equipment and has a PolyWarmtone appeal to generate enough interest to resurrect the Polywarmtone paper. The paper I bought came from Latvia. Research in forums indicates it was much loved in its heyday and lith'ed well. It was also noted as being very slow to develop which I was to discover. The listing said 1980's. The package indicates medium contrast, glossy, white, and thin. Packaging Details I started as usual with a test strip at f11 on the enlarger using what has turned into my standard test negative from a Santa Fe railway locomotive wheel truck. f11 test strip  The paper was developed as follows... 2 minute Ilford Universal PQ (1+9) 20 seconds stop 2 minute Ilford Rapid Fix (1+9) 10 minute wash The first thing I notic