I continue to have a dry-spell on my photography work. It is strange how I went from overflowing with projects and enthusiasm to to my current dry-spell. It seems to have been brought on my the COVID lockdown. I have thought perhaps I may not return but remind myself that I have spent months before and always returned with renewed energy. It will come back.
In the mean time I am enjoying hanging out in my shop and reuniting with another older passion of woodworking . After I finished the shelves (
see prior post) I had some leftover plywood and had been contemplating a problem I had with my 4x5 enlarger ‘The Beast’.
The Beast is a Durst Laborator 54 enlarger. I picked this up for free and have always enjoyed it. When I picked it up it had a number of accessories. Among these are a set of 5 large condenser lenses which I had laying about the place conscious they were pretty vulnerable.
The lenses are used in pairs according to the objective lens in use and size of the negative. I also got a full complement of objective lenses from 150mm, 135mm, 80 and 50mm. So I planned a cabinet to hold all of them. Someone online offers to actually to make a plywood box for these condensers. This one seems to be enough room for 6 lenses stacked vertically. I finally settled on side by side so it sits better on a bench. I made it with 6 slots even though I only have 5 lenses. I then allowed for two additional drawers for the objective lenses. In the sixth condenser slot I made a shallow drawer for negative holders/masks.
 |
| Finished cabinet with condensers and drawers fitted. |
I then set about dimensioning the cabinet based on the lenses. Overall the cabinet is approximately 16 1/2” (42mm) wide by 9 1/2” in (24mm) high and 9” (22.5mm) deep. It is made from the same crappy 3/4” 18mm Chinese plywood as my previous project.
 |
| Examples of the condenser lenses |
Dovetails in Plywood
I haven’t cut dovetail joints in probably 15 years and I wanted to get back to them. I have never cut dovetails in plywood before and I have to say it is pretty unforgiving as a material. This plywood’s brittle veneer layer means chopping the pins and tails has to be done carefully to score and not chip the veneer. I had to stop and re-glue small chips frequently. The core layers were brittle as well and so chopping could cause the layers to pull out rather than cut cleanly. Most of this however did not show. In places where the tails were not proud of the surface one cannot merely sand the difference out as the veneer layer is so thin. The exposed plywood layers are unconventional but attractive I think.
 |
| Dovetail detail, slot for front cover also visible. |
I cut dadoes in the top and bottom so I could slot in the center divider. This divider has slots cut with my circular saw for the lens holders. The corresponding slots in the cabinet sides I fashioned with thin plywood glued to the sides. (As I write this I am contemplating reinforcing the glue with screws as the lenses are quite heavy and the protective function of the cabinet would be thwarted if when dropped these sides broke free.) I only used one of the condensers as a model for fitting the slots assuming they were all identical. When it came time to fill the cabinet I found out this wasn't true. Lots of filing was required to get them all to fit smoothly.
Cabinet Back and Front Covers
For the back of the cabinet I used some 3mm plywood I had lying around. Normally I route a 3/8” slot in the cabinet panels to receive the backing (which would be 1/4" in this case). Each piece is routed separately and one has to be careful the slots are cut blind so the don’t extend to the ends of the tails.
I thought a better approach would be to assemble the dovetails first then use a biscuit slot cutting bit in the router table to mill the slot. This worked very sweetly and with the bearing setting the depth I got blind slots all around the inside of the cabinet. I repeated this on the front of the cabinet as I wanted a front cover as well for when the cabinet is transported so the lenses and drawers don’t fall out. For the front I also milled the same slot on the right-hand outside so a panel of the same 3mm plywood could be slid into the slot (see photo above with dovetail detail). Because of the slot cutting bit the corners of the panels need to be radiused.
 |
| Back panel in finished cabinet. |
 |
| Front panel on top of cabinet. Note radiused corners on left. Hole is used to slide the panel out. Slot is visible in bottom front. |
The glue-up was pretty straightforward. I had to make sure the rear panel and center divider were slotted in place. The cabinet squared up very nicely. After the glue set I shaved the proud pins and tails with a chisel and then sanded it all down.
To hide the plywood edge around the front of the cabinet I cut some veneers from some scrap oak and metered and glued these to the front edge of the cabinet . I sawed the excess away and then used a flush trim bit in the router table to clean up the edges. I then sanded this flat and smooth.
 |
| Finished cabinet with oak trim edging. |
Drawers
The drawers were dimensioned for the objective lenses. Each drawer would have a divider that would allow for 4 lenses each.
The bottom drawers I fashioned from more leftover plywood. The sides I made from resawn 18mm plywood. I used my Japanese Ryoba saw and it did a great job. I then planed the sawn sides flat and sanded them. The drawer front is 12mm plywood. I used the biscuit slot cutter to make slots in the drawer front for the bottom and in the sides for the back of the drawer. I used 3mm plywood for the drawer back and some similar plywood I recovered from an old cherry veneer desk. I then glued these up and painted the interior flat black.
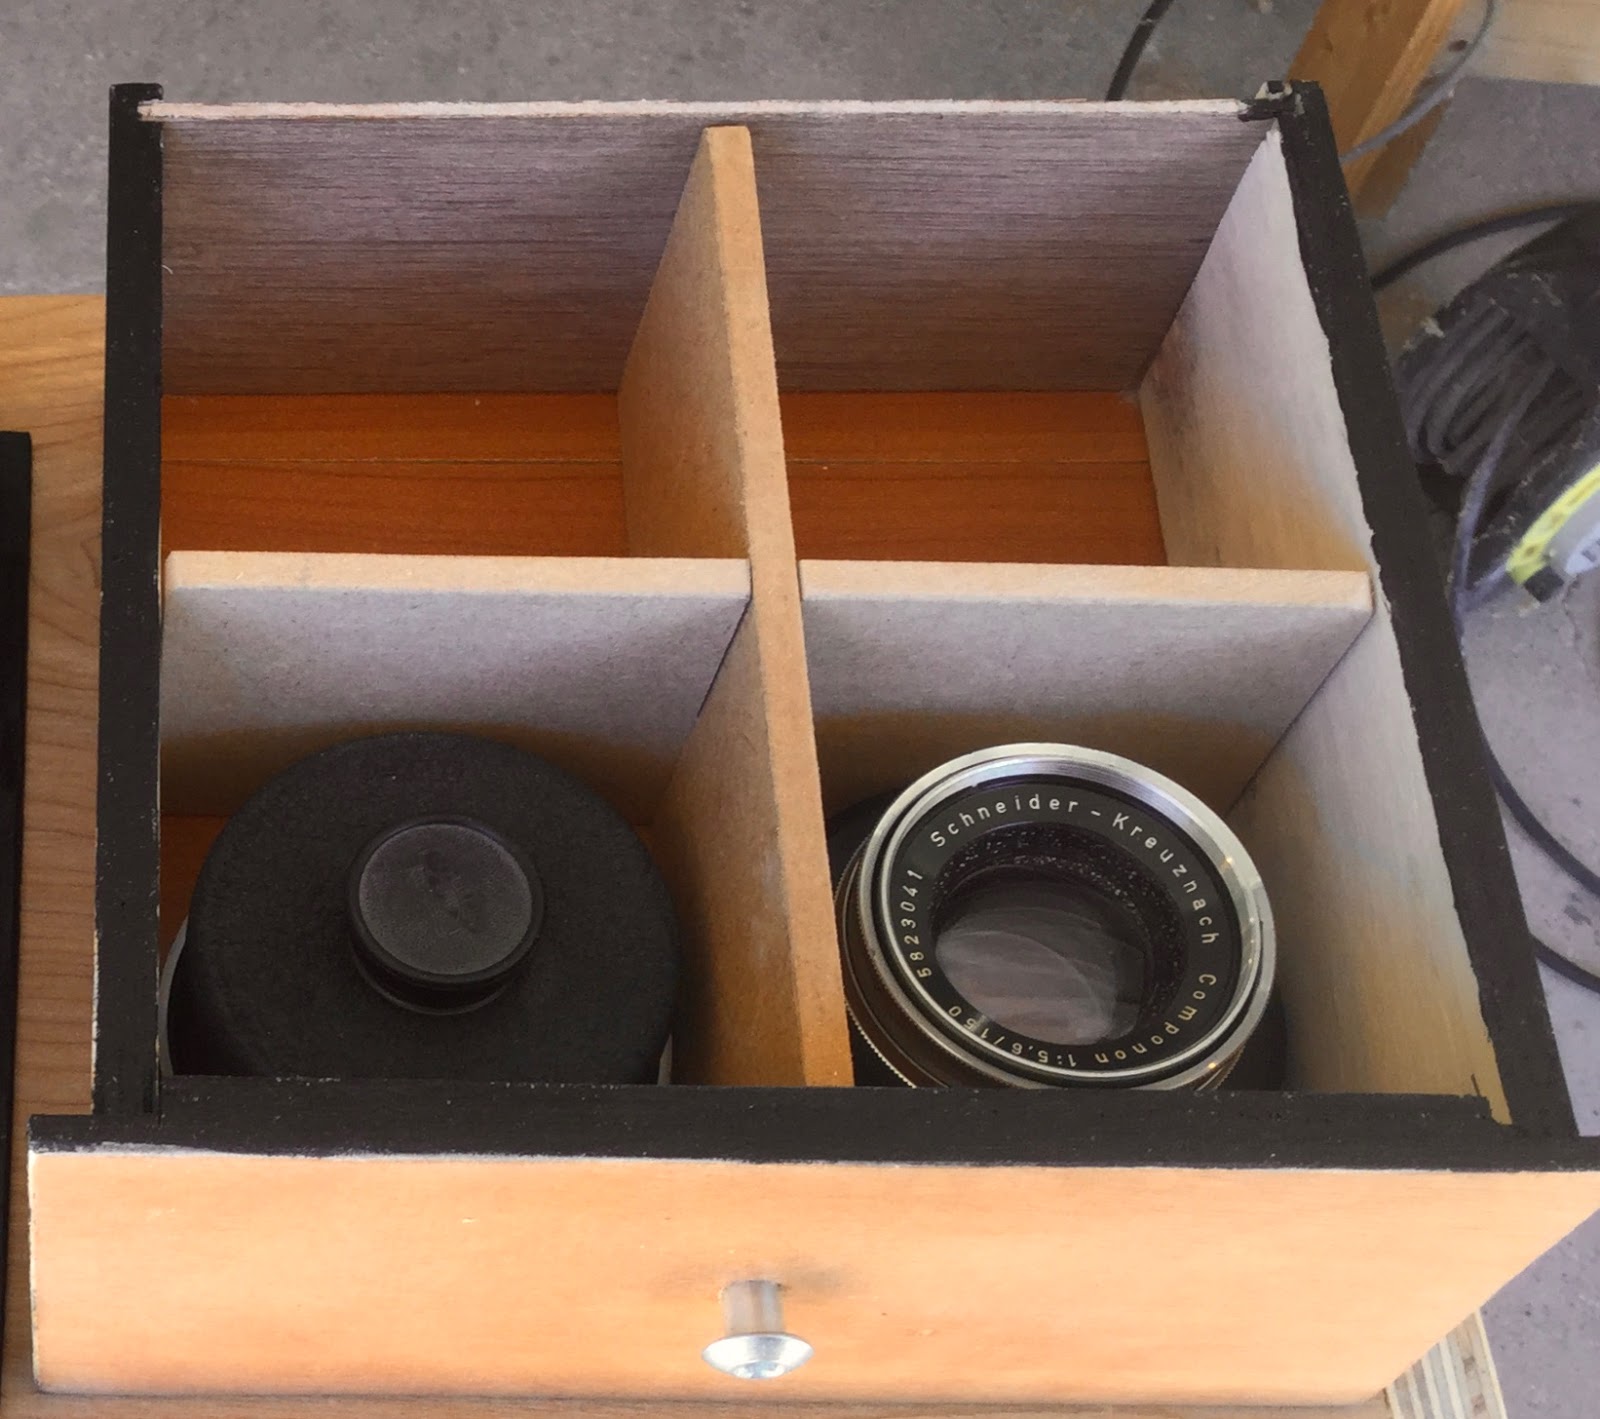
 |
| Drawer with dividers and lenses in place. |
 |
| Detail of drawer. MDF center triangles keep dividers in place. |
 |
| Detail of drawer bottoms. Bottom is made of 2 pieces as the scraps were not long enough. |
The other drawer is thinner and fits in the same slot as the condenser lenses. As such I opted for hand-cut rabbets for gluing the front to the bottom and sides. Again I resawed the bottom and sides from thicker plywood with my Ryoba saw. The drawer bottom has flanges on the sides to support in the slots in the cabinet.
 |
| Thin drawer with negative carrier inside. |
Handles
I debated quite a while about adding handles. I think they detract from the clean look of a cabinet like this. However I made a tool box years ago in cherry which is much larger and is very heavy and the lack of handles makes it difficult to move it around. Finally I decided this was more a functional design and so opted to add the handles. I fashioned these from some scrap oak and carved and routed it into shape. I them used two dowels to mount each handle to the sides. Once the cabinets are loaded with all this glass the handles are much appreciated.
 |
| Handle detail. |
Finish
I used wax all over the cabinet in three coats. It helps to wax the wood before painting the black parts as the wax helps with the clean up of any slop with the paint.
All Done
Here are some images of the finished project.
 |
| Cabinet with lenses and drawers in place. |
 |
| The front cover inserted in the side slot. |
 |
| Closed cabinet. |


Comments