Posts

A Small Darkroom Upgrade

Image
I recently purchased a couple of Photon Beard easels. They had a reputation of being quite good. The reason for this is that my only easel to this point was an LPL 8x10 easel that I got for a good price. After a little paint and refurbishment it was good as new and has served me well. For larger prints I decided to economize. I bought a magnetic white board and a roll of magnetic strips. I hang the whiteboard from my cabinets and then tilt my enlarger sideways to project the image. It fits 12x16 paper in landscape or portrait position and could handle 16x20 in portrait as it is presently hung. The setup was serviceable but not simple over the past couple of years. Holding up the paper and trying to pin it down with magnets can be frustrating under safe-light conditions. It is made more difficult when heavy FB paper is used if it has a pronounced curl as the magnets are not strong enough. Furthermore the margins are inconsistent. As I say passable; but the frustration got the better o...

What to do with Old Photographic Paper That isn't Useful for Prints

Image
I have spent some time experimenting with old photographic papers. It is a strange preoccupation of mine many of whom would think of as a waste of time. Certainly the results are not as good in many cases as new fresh paper for conventional prints. There have been some exceptions for me though and I look forward to further exploiting some of the things I have seen on some old papers. I recently wrote of my disappointment in a box of unopened Panalure paper. And while an initial disappointment it did turn out to be a good Lumen paper with a nice lavender color before fixing and a retention of some nice salmon color after selenium toning and fixing. Examples can be seen below. Unfixed Panalure Selenium toned (1+19) and fixed Unfixed Panalure Selenium toned (1+19) and fixed I also experimented with using developer and fixer like paint or ink. While I wouldn't say these are art they represent ways to use paper for non-photographic uses. There is a rich history o...

Panalure and Kodachrome for Black and White Prints

Image
Hmm interesting title. Some time back I outlined in a post ( here ) my attempts to develop an old roll of Kodachrome using black and white processing. While I got a few very interesting images when manipulated in Photoshop all attempts at making prints that measured up fell short. This was due to the orthochromatic nature of the paper and the fact that much of the negative was either yellow or orange which the paper is blind to. I concluded that I needed to find some panchromatic paper. Research revealed that Ilford makes panchromatic paper called Digital Silver for use with laser-based digital printing systems. It is unfortunately only available in 100ft (or longer) roll. Not exactly amateur friendly. However I recently learned that there were at one time other panchromatic papers made. They were aimed primarily at those that would want to make black and white prints from color negatives and render shades of red as something more than white. Unfortunately this stuff hasn't been...

Fiber Print Drying Part 2: Extending to Larger Paper (12x16")

Image
Last June I described a method of drying fiber prints using some simple and cheap Plexiglas or Perspex parts. The drawback is that they must be sized for the print. I modestly started then with 8x10 prints and had 4 sets of the dryers fabricated. They use a simple clamping method using bulldog clips. It was quite successful and I have used them many times since on my 8x10 FB prints. At the time I promised to extend this to 12x16" which is the largest print size my darkroom is set up for. One reader commented about some problems they had with a similar approach. Interesting method, Tried something similar with wooden blocks and bolts and wingnuts. 12 x 16 sometimes sheared off the edges of I started with a print that was too wet. Curious to know how you fare.  (Update: I have added 16x20 to my repertoire now successfully .) So I went back to the same manufacturer with an order that was a directly scaled up version of my 8x10 version. Below are the dimensions I used. The...

New 12"x16" FB Prints and Some Hand Coloring

Image
Its been some time since I have done some FB prints in 12x16" size. I like bigger print sizes but with FB there is always the drying and flattening problem. I wrote an article about a solution for 8x10" prints which I use regularly and like the results. I scaled this up not too long ago for 12x16" and my initial trial resulted in some damage to the paper in the corner. This mimicked a comment made by a reader when he had tried to scale up a similar solution. Though the damage and distortion was limited it did discourage me. I let the problem roll around in my head until I decided to do more prints. I had an unopened box of Ilford MGIV FB Classic and I wanted to try it. I decided I could reduce the paper tension by clamping the edges with less force. This worked flawlessly. Flat prints with no damage. I will give a complete report in a later post. For this I chose some photos my brother took while we were on a backpacking trip in the Maze district in Canyonlands in Ut...

Behind the Iron Curtain:More Old Paper

Image
I have in the past been interested in trying out old photographic paper. Mostly out of curiosity to see what different materials were used and try and experience what others may have at different times or places. The paper being very old however probably is never quite the same as it was at the time. With things kicking off as they are in the Ukraine again I am reminded that some of my first papers from behind the Iron Curtain came from Mariupol in Ukraine which is now under threat. I told the seller at the time that I hoped for the best for them but hope now does not seem like enough. I recently bought some paper from Bulgaria from the brand Fohar (фохдр in Bulgarian). It was 2 boxes of 100 sheets 13x18cm. One box was white glossy and the other was something I hadn't encountered before called 'raster'. At first I thought this was a translation problem and it had something to do with contrast. After much searching I came across a link to some pinhole photos printed on F...

An evolving iPad-based Flow for the Darkroom

Image
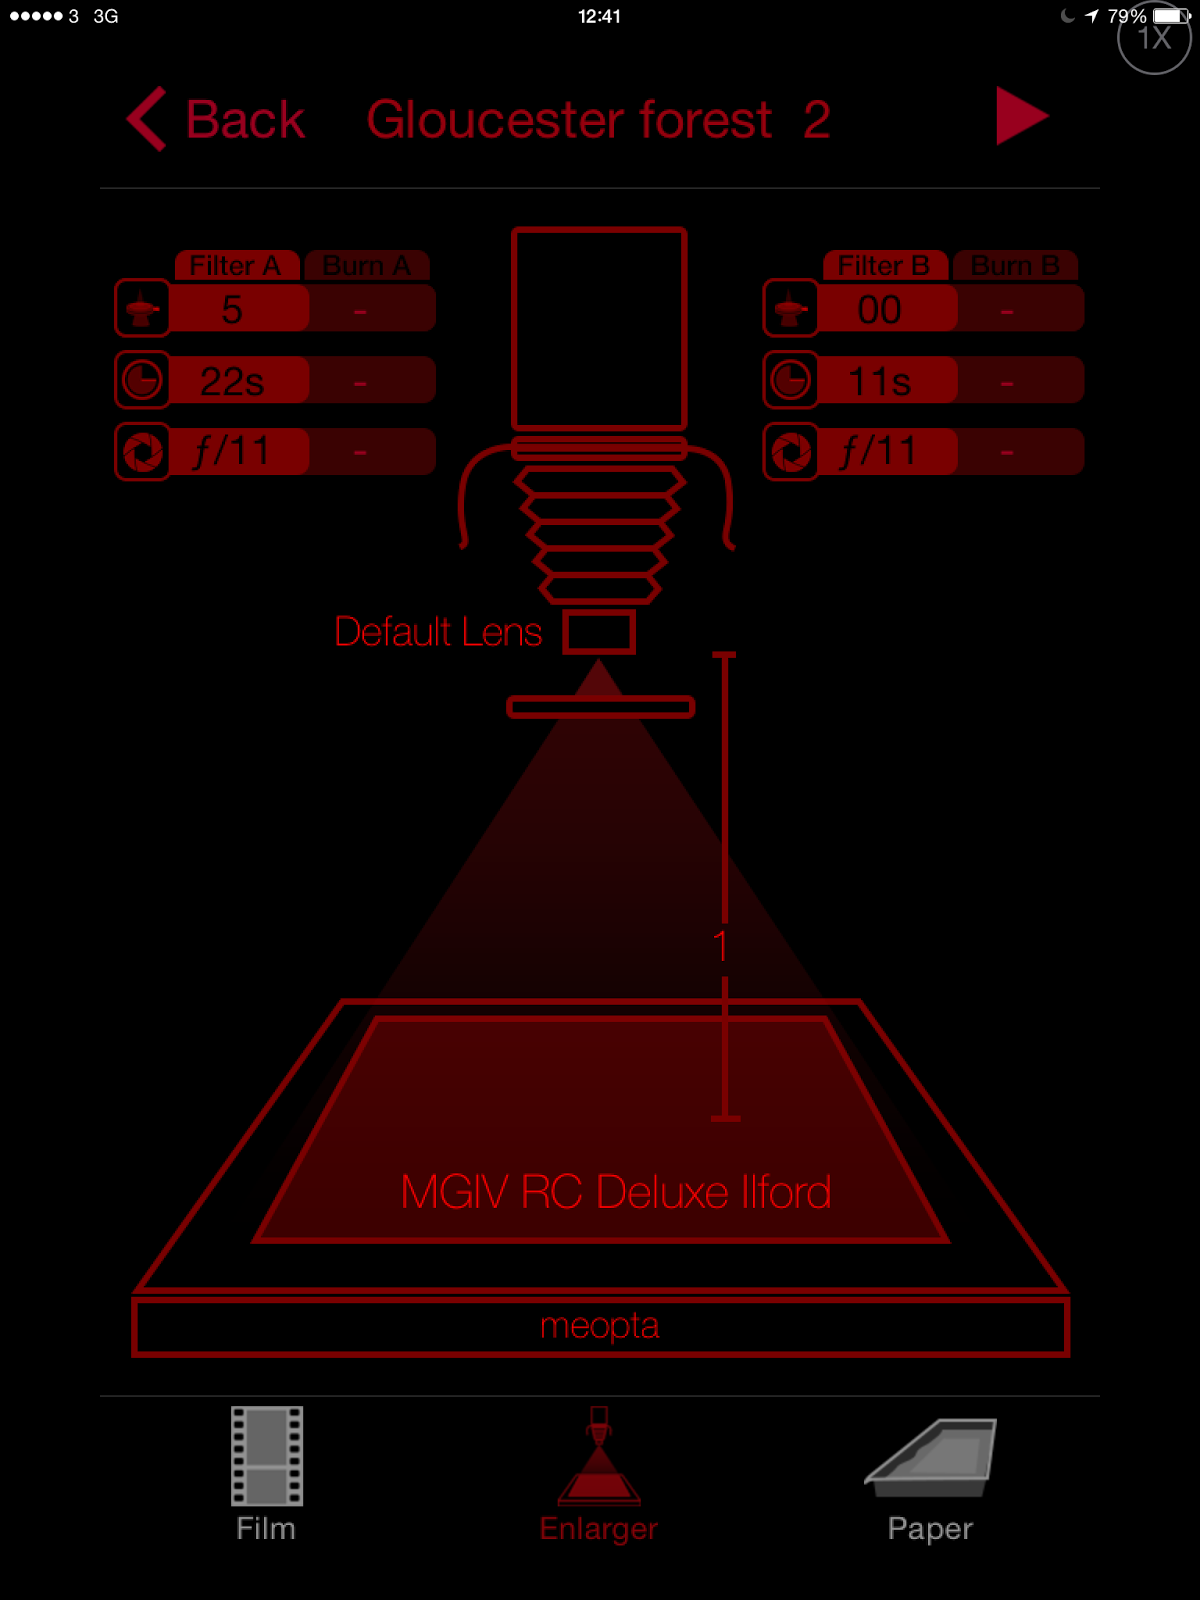
I have only been at this game of darkroom work since 2013 and my return to film and photography happened only in 2009. So I suppose I am part of the small army of newer retro photographers who depend on the vast experience of others on their blogs and forums. I got into the darkroom in a round-a-bout way starting with an idea I had to use than iPad as an enlarger written about here . This project was a success and done as an intellectual exercise. (I plan on revisiting this project again as I have a lens from a 4x5 camera that should produce an image with less vignetting.) I produced a handful of interesting prints. I tried to minimize the cost so I bought a minimum of chemicals and some grade 2 FB paper by Ilford as the cheapest I could find at the time. However this meant I was much closer to a full darkroom. The iPad as an enlarger was interesting but not quite the same as the real thing and so finding myself on the slippery slope I did what what one does, I slid down. As I said ...