When my father visited us in 2007 in Bath he bought a very thoughtful gift. It was a shed about 6ftx8ft in size. He knew I liked my projects and Vicki's house did not have a garage or space for hobbies such as woodworking. I had brought over with me my hand-tools having sold or given away my power tools to friends and neighbors. I don't think my father knew of the
British obsession with garden sheds and how they become sanctuaries and and expressions of personality.
Mine was a simple kit that I assembled after my Dad's visit. Soon I moved in my workbench and hand-tools. I had by then acquired a router, a power planer and a cordless drill. I laboriously dug trenches to the house to bring out power for the tools, lighting, and a small heater.
One of my first projects was a garden box to store the outdoor recliner pads out of the weather. Vicki's garden was huge and some ways from the house was a patio that caught the sun and a couple of recliners that were great for reading the Sunday papers. Trouble was having a place to keep the pads nearby that would be dry.
I built the box from simple pine boards that I jointed and then dovetailed the corners. I used laminated flooring as the bottom and made a large overhanging lid to keep out the rain. I thought I had paid careful attention to making it weather-proof. Come forward 8 years of standing in the inclement weather here and I find a couple of legs have rotted through and one of the planks as well.
My son Redington came over for this past Christmas holiday and I thought this would be a good project to work on together. We brought the whole box into the garage and emptied it to examine the damage. We discussed what happened forensically. I had assumed the legs had wicked up moisture from the ground. What was apparent is water had gotten inside; probably rain driven by the wind. It had pooled inside and had rotted the bottom and the plank where the bottom joined was rotten too. There was also a crosspiece across the bottom mortised to front and rear planks that supported bottom and held the two middle feet. This was rotten too.
We decided to saw only the rotten part of the plank away to minimize the amount of new dovetail cutting. We cut the bottom out as it was mostly ruined as well. After this we had to put that project on hold as the dishwasher decided to pack it in and I had to spend the last few days of Redington's visit fixing that.
I also decided the floorboards while functional as a bottom and cheap would not hold up if there was any moisture present. They were chipboard and would swell and disintegrate with moisture. I would use marine grade plywood instead. This I had to rabbet to fit the existing slots in the carcass. I also coated the whole piece in polyurethane.
The crosspiece I fashioned from an old scrap of oak. I put tenons on each end to fit the old mortise on the back of the box. I also made mortises in the bottom of the crosspiece to accept new feet. A new mortise would be made in the replacement front plank section.
 |
| New plywood bottom in place. |
 |
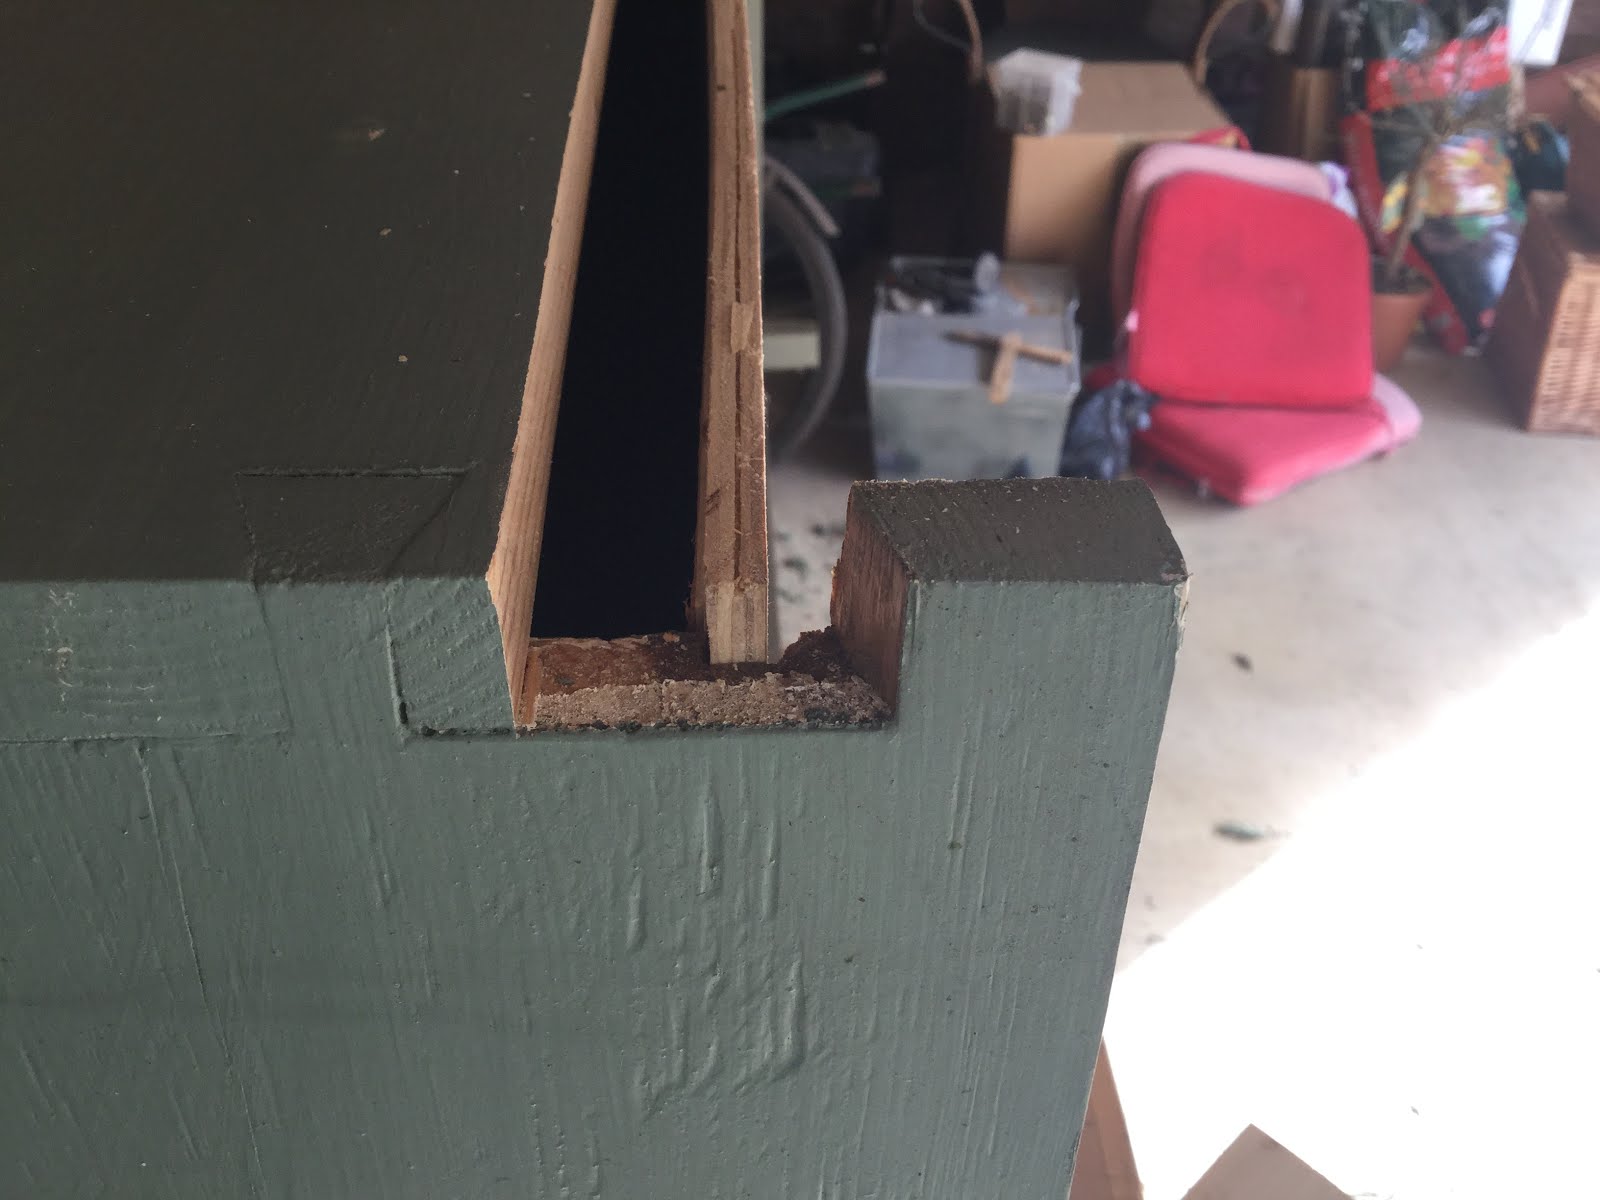
| Rotten front plank section removed. Rabbeted plywood bottom in place. (Red garden pads in the background.) |
 |
| Other end of above plank gap. |
 |
| Replacement parts crosspiece (top) and plank section (bottom). |
The replacement plank section was cut to length and dovetailed on the ends using the original piece as a pattern. A mortise for the crosspiece was cut and a blind slot to take the bottom was routed into it as well.
 |
| Crosspiece in place with replacement plank section. Feet have been placed into the crosspiece as well. |
 |
| Detail of crosspiece mortise and tenon in plank as well as new foot. |
 |
| Detail of corner dovetail fit of replacement plank section. |
I had to fashion new left and right feet to replace the rotten ones. Once again I replied on scrap oak pieces reasoning they would be more resistant to the moisture than the original pine. These I pinned into place using dowels. |The new feet in the crosspiece were glued into mortises in the crosspiece. I used polyurethane glue throughout these repairs.
 |
| Replacement right foot detail. Pegged in place with dowels. |
 |
| Replacement left foot detail. |
I then planed the replacement plank section flat with the original plank. I sanded and scraped the whole carcass of pitch and lose paint. I primed the new and bare wood sections. I then repainted the entire box. The results are below...
 |
| Front |
 |
| Right top detail |
 |
| Left top detail |
 |
| Right rear detail |
 |
| Right rear detail |


Comments